Need Radiators FAST?
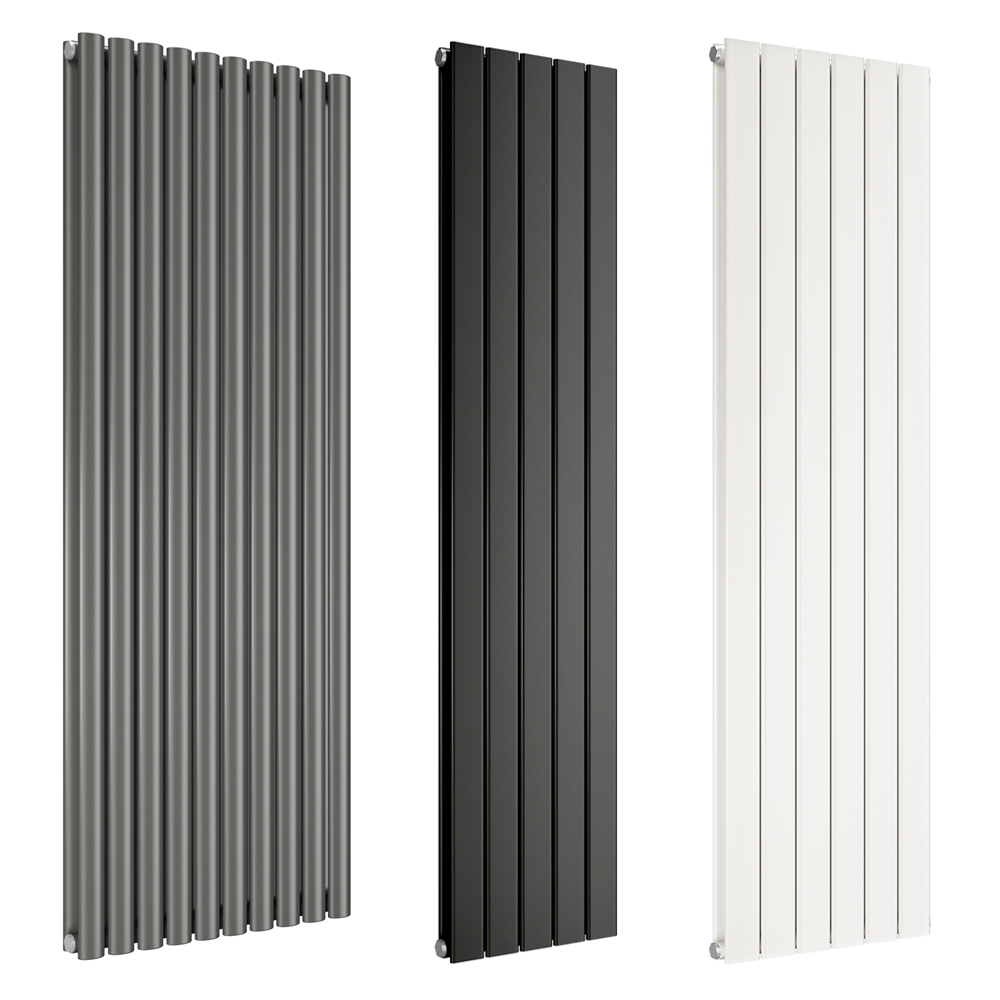


Adding an extra radiator can completely change how a home feels in colder weather. Maybe you’ve extended a kitchen, converted a loft, turned a box room into an office or you’re simply fed up with one space always being the cold spot. Whatever the reason, adding a radiator to an existing central heating system is usually achievable, but it pays to plan it properly first.
Start here: can your current heating system handle another radiator?
Before you touch a pipe cutter or start browsing for new radiators online, you need confidence that your system can support the extra demand. Adding a radiator changes flow rates, pressure behaviour and system balance. Most modern systems can cope with one additional radiator, but there are a few checks you need to do first.
Think about your boiler output in plain terms: if your home already struggles to heat up on cold days, an extra radiator may highlight an underlying issue rather than solve it. In that situation, the best fix might be upgrading undersized radiators elsewhere, improving insulation, balancing the system or addressing sludge and circulation problems before you extend the system further.
If your heating generally works well and you’re adding a radiator to serve a new space, your system is more likely to cope, but sizing still matters. An oversized radiator can cool the system water too much and upset how other radiators behave; an undersized one will leave you disappointed, even if the installation is perfect.
Choosing the right radiator for the room
The radiator you choose affects far more than aesthetics. Heat output, valve placement, pipe centres, wall strength and even where furniture can go all come into play.
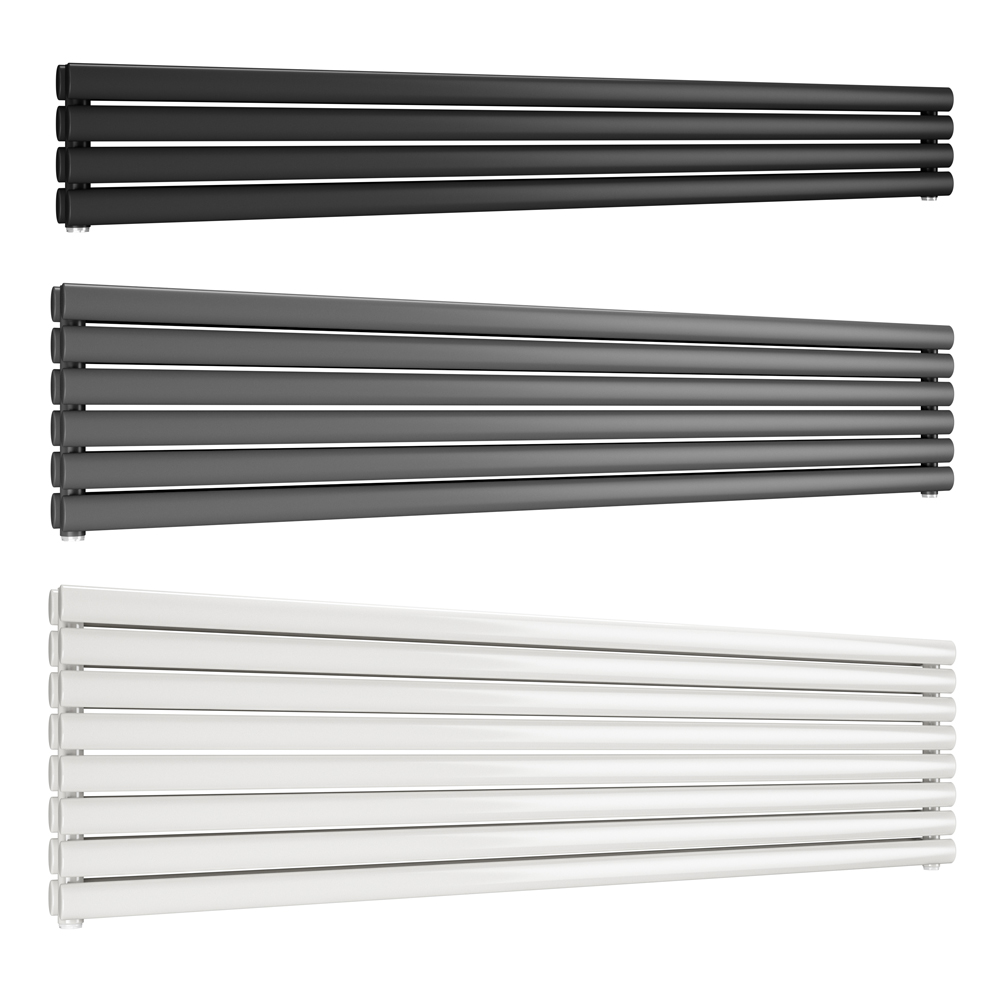
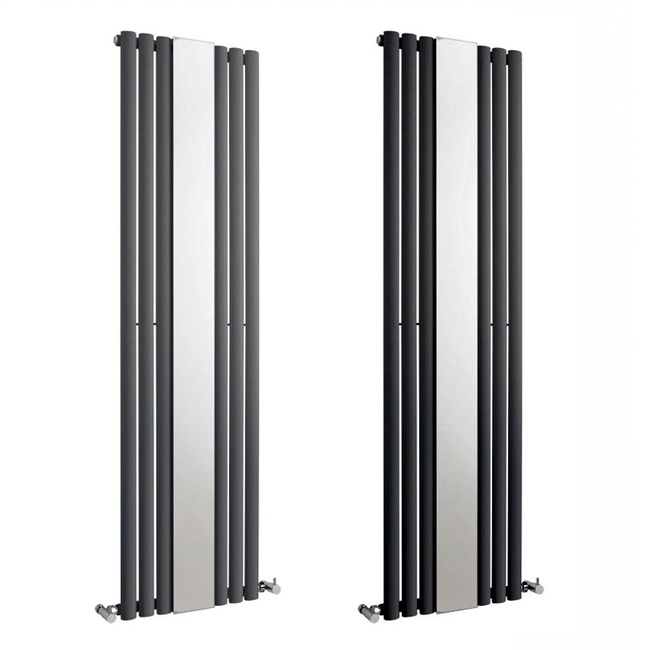
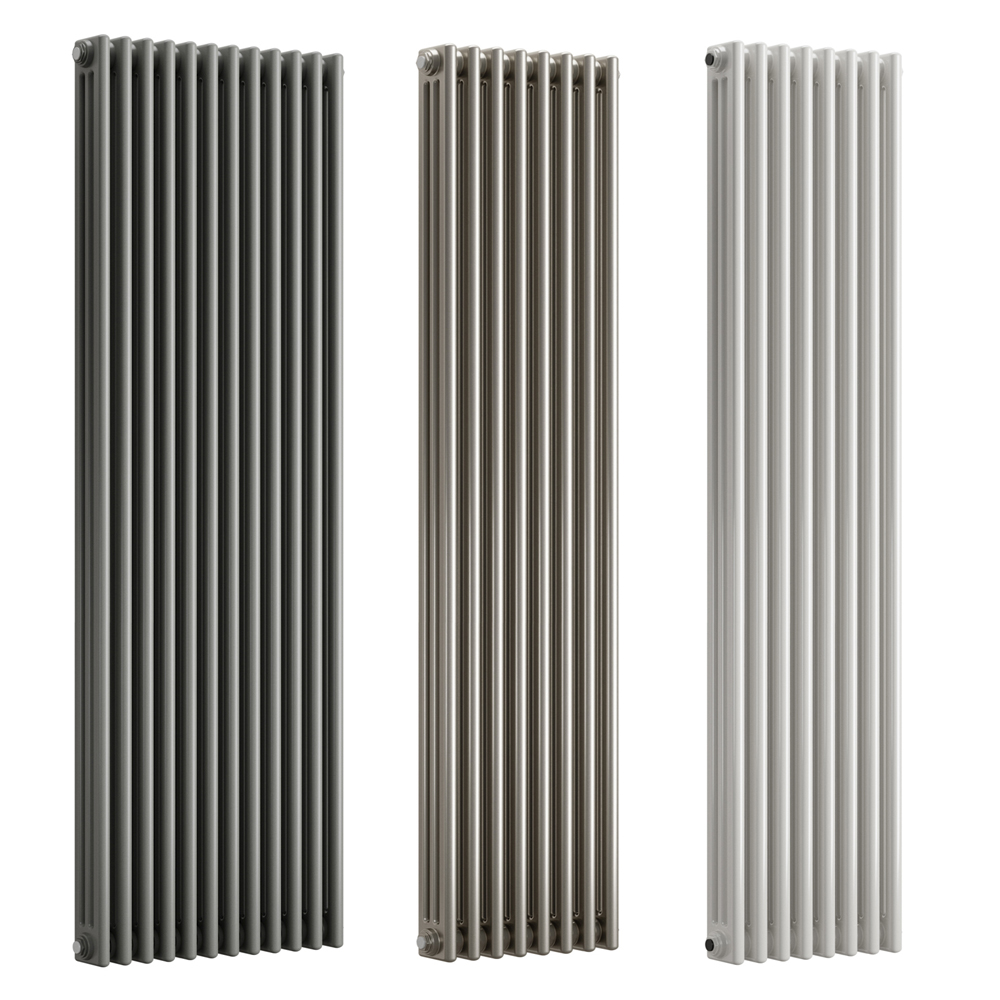
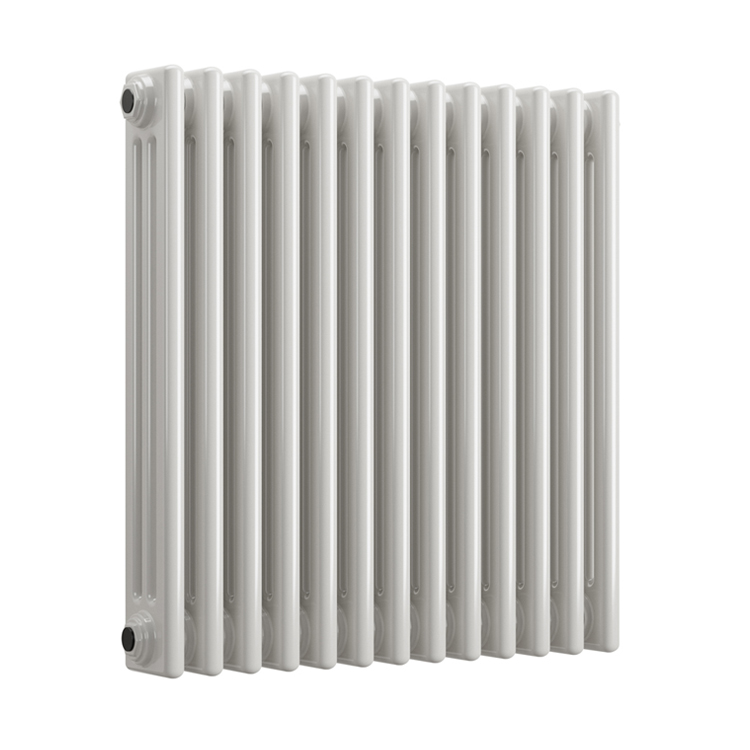
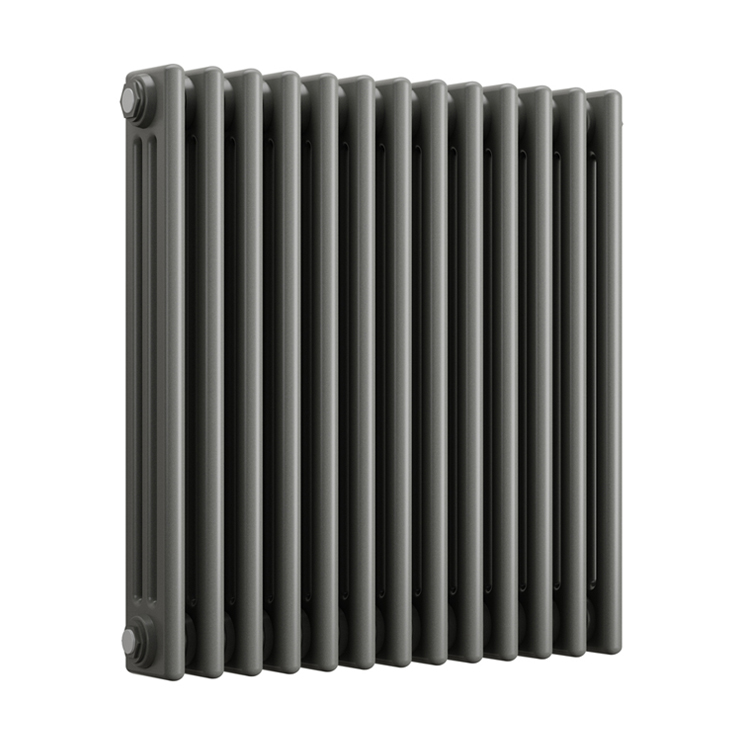
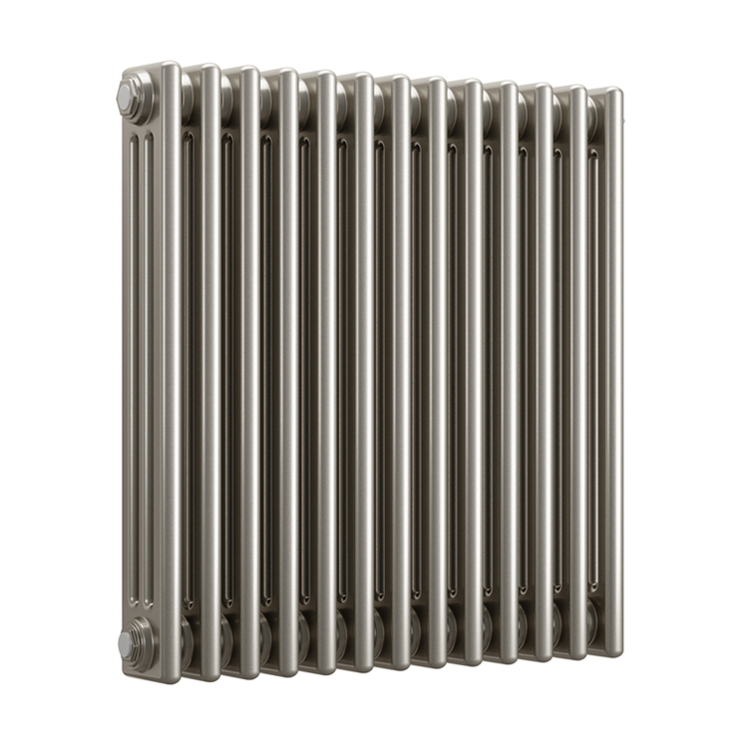
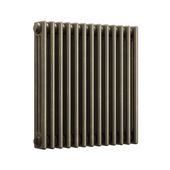
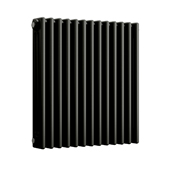
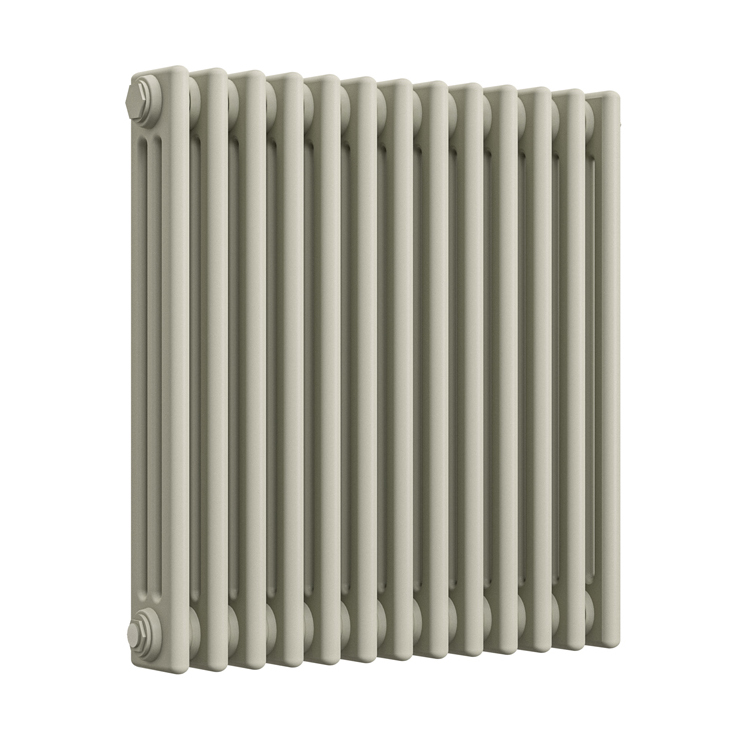
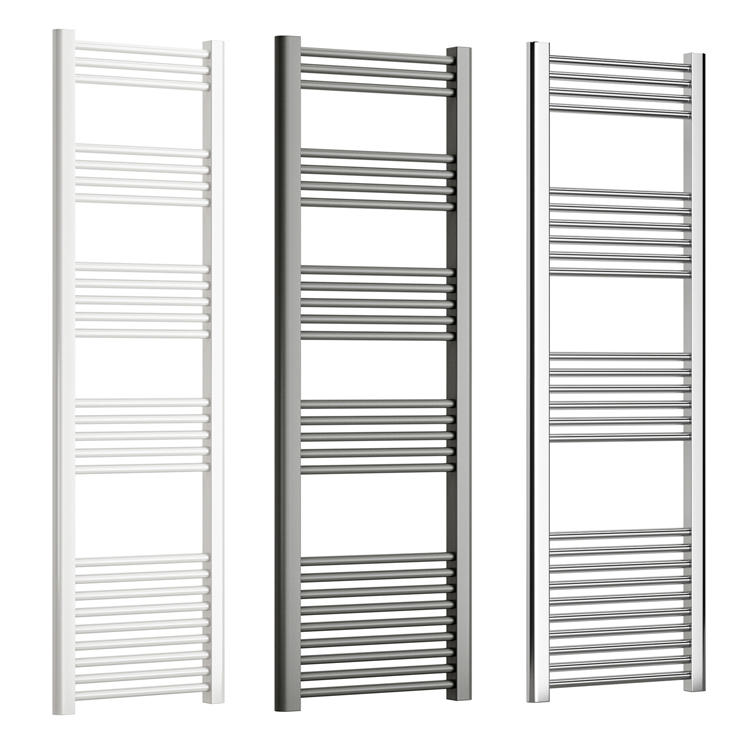
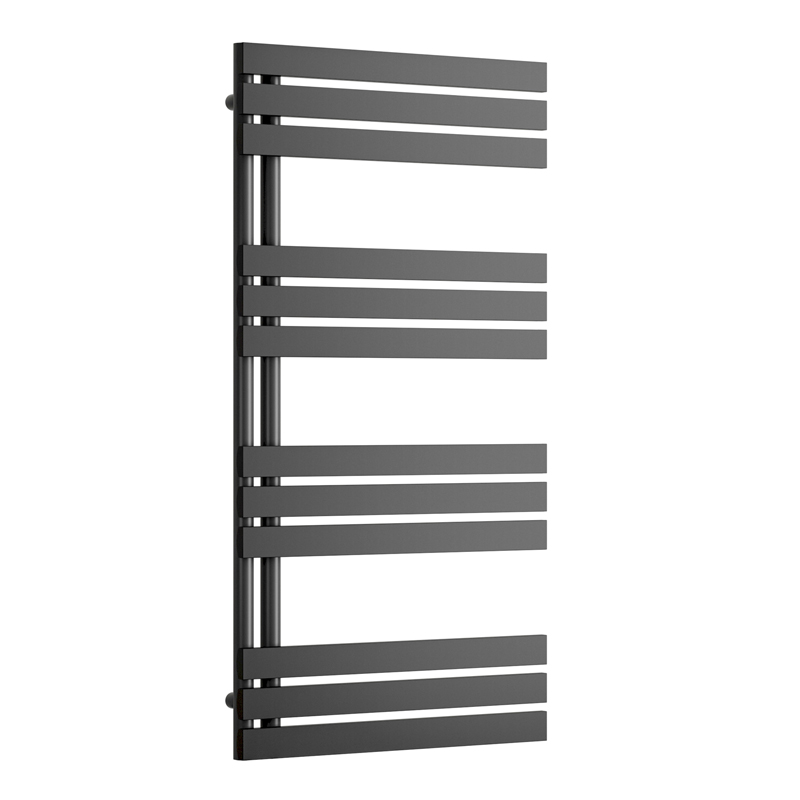
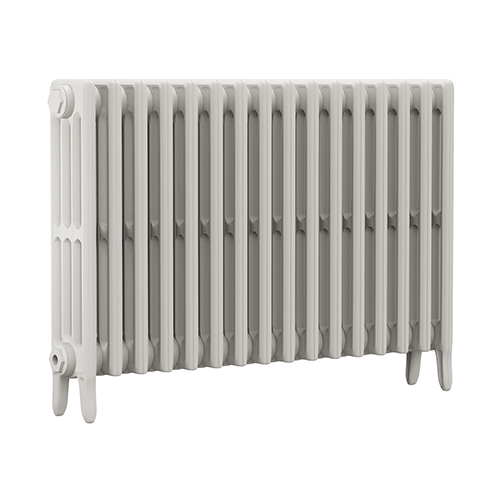
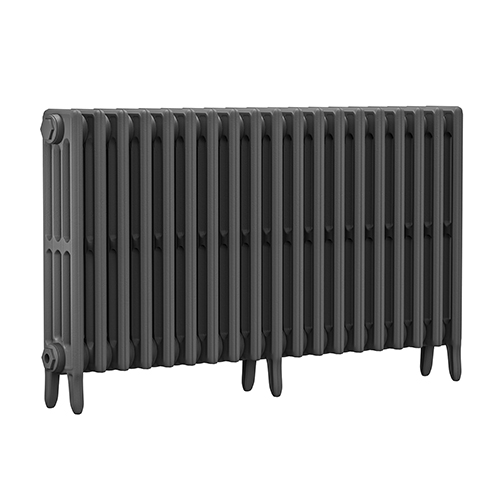
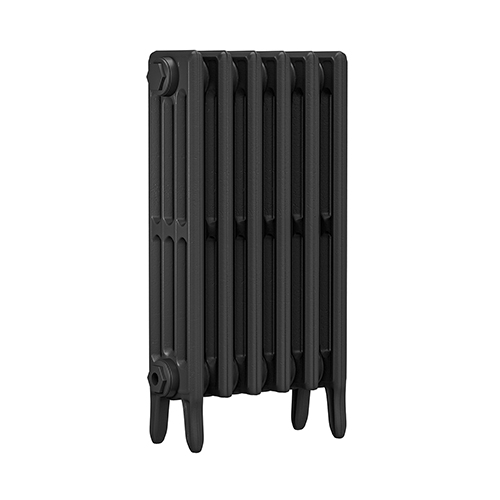
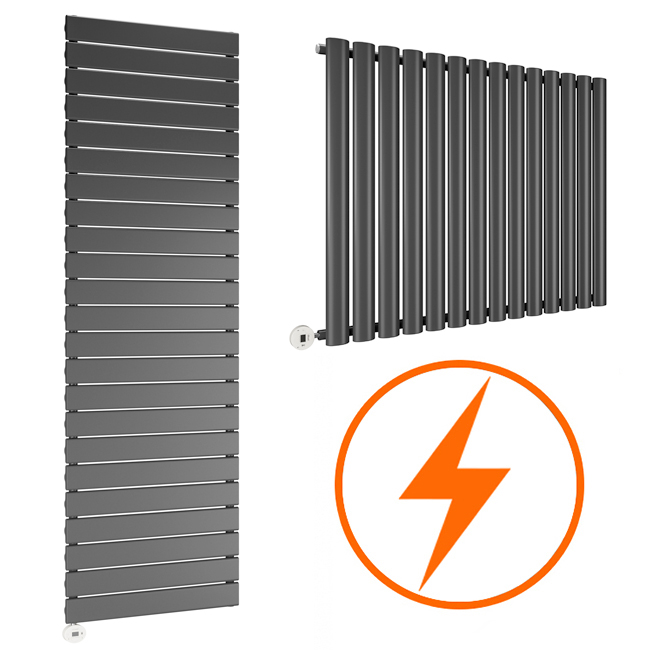
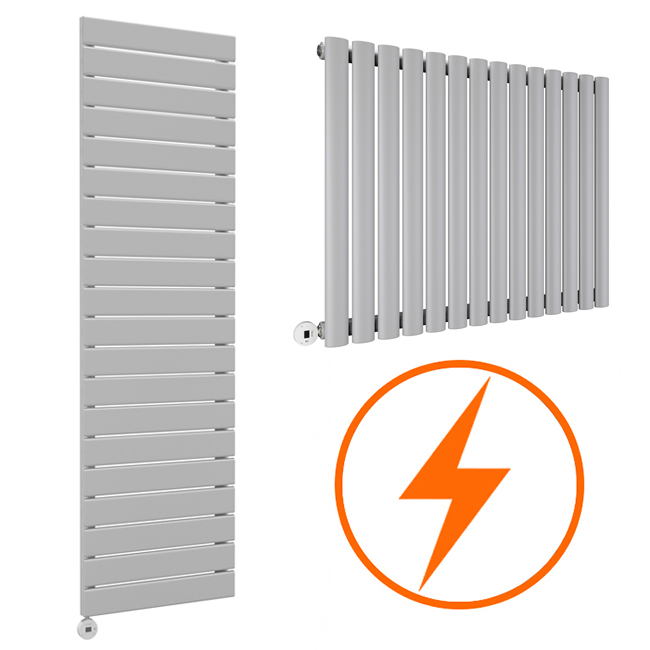
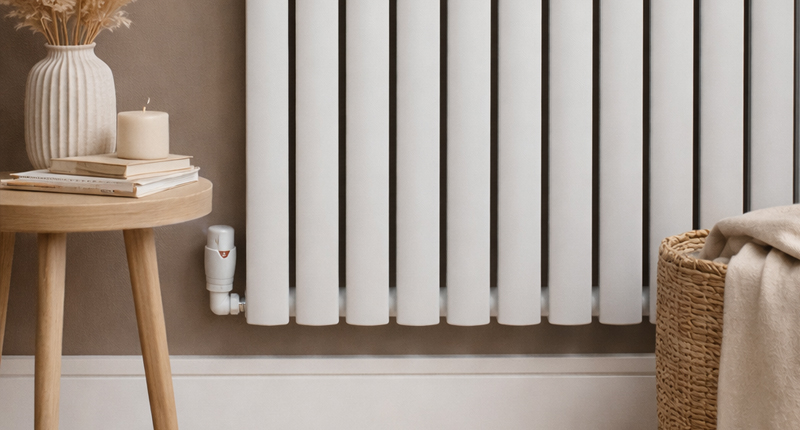
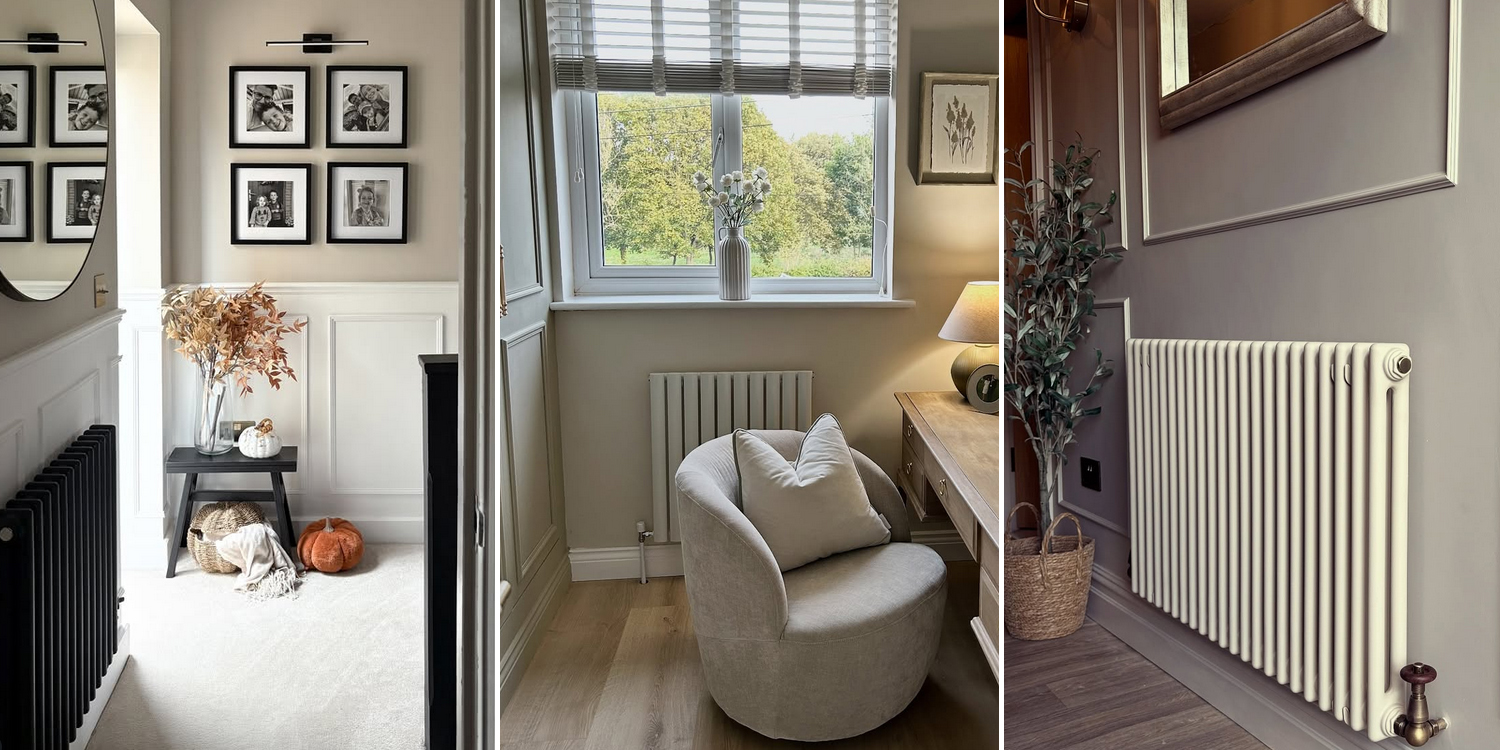
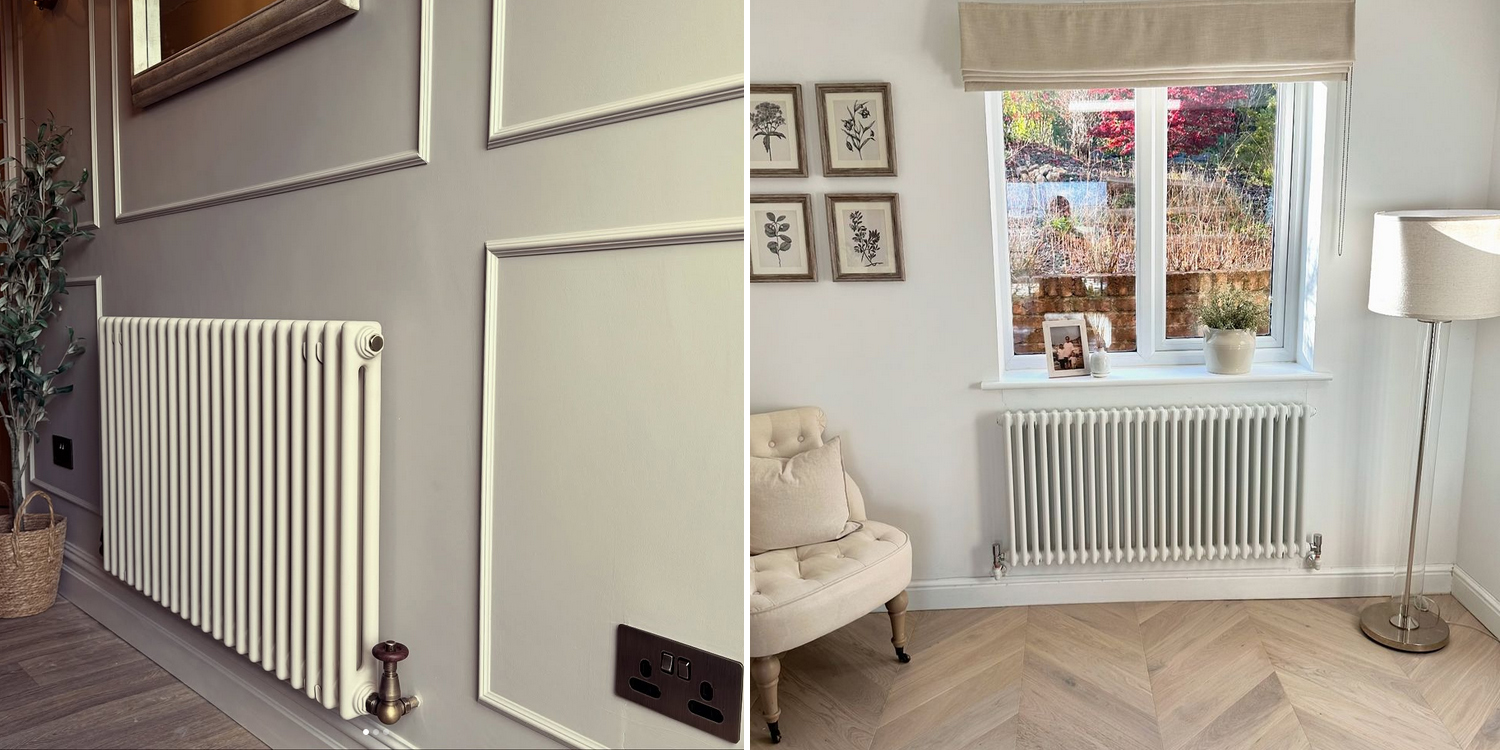
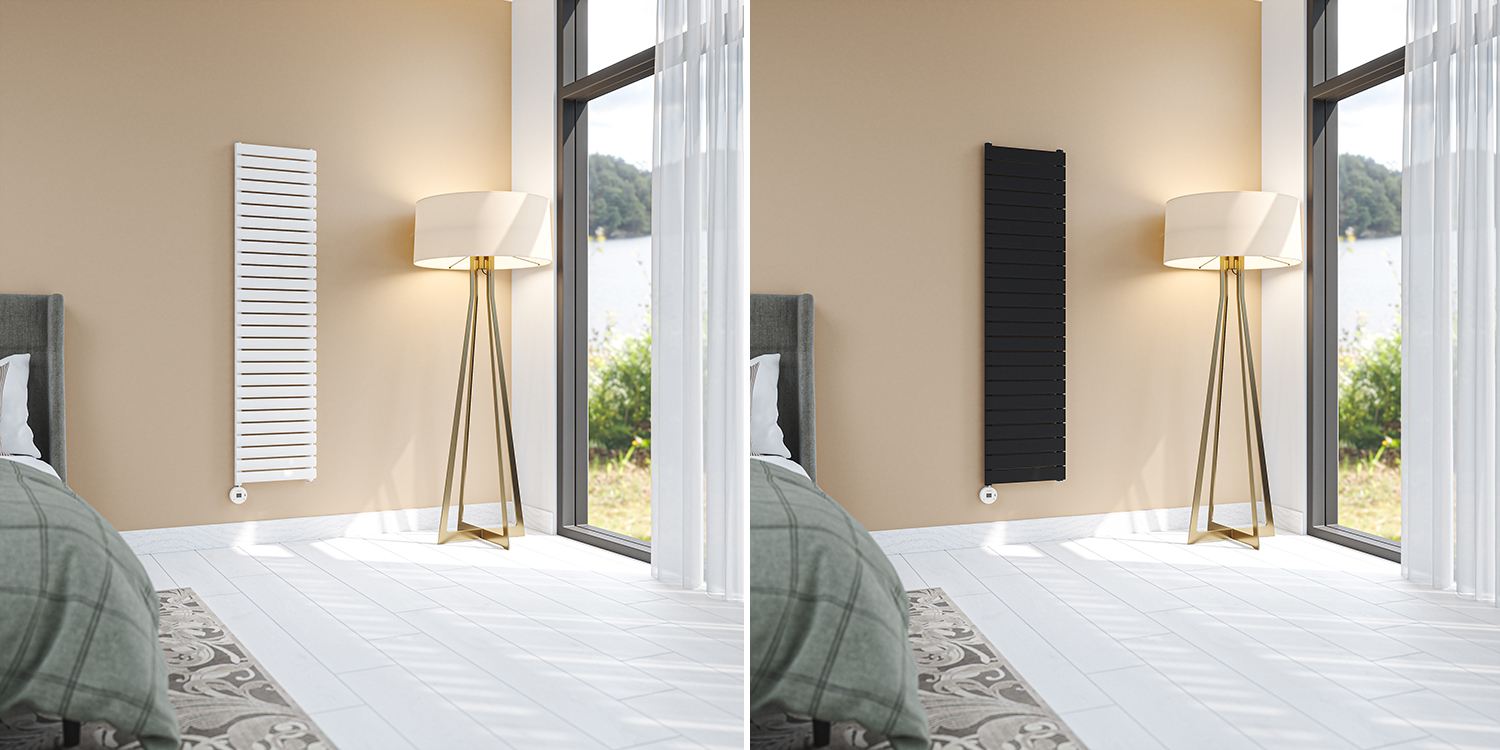
Designer radiators are ideal when you want heat plus visual impact, or you’re working with awkward wall space and need a tall vertical format. Traditional radiators, including column styles, suit period homes and larger rooms and they’re often chosen when you want strong heat output without relying on a huge panel. Bathroom radiators and towel rails are a special case because you’re typically balancing warmth, towel-drying and limited wall space, often in a room with higher ventilation and colder surfaces.
If you’re adding heat to a bathroom or en suite, pay attention to where the radiator sits relative to showers and basins and make sure you’re choosing a product suited to the environment. Many people go for towel radiators here, but if the bathroom is larger or poorly insulated, you may need a higher-output option than you’d expect.
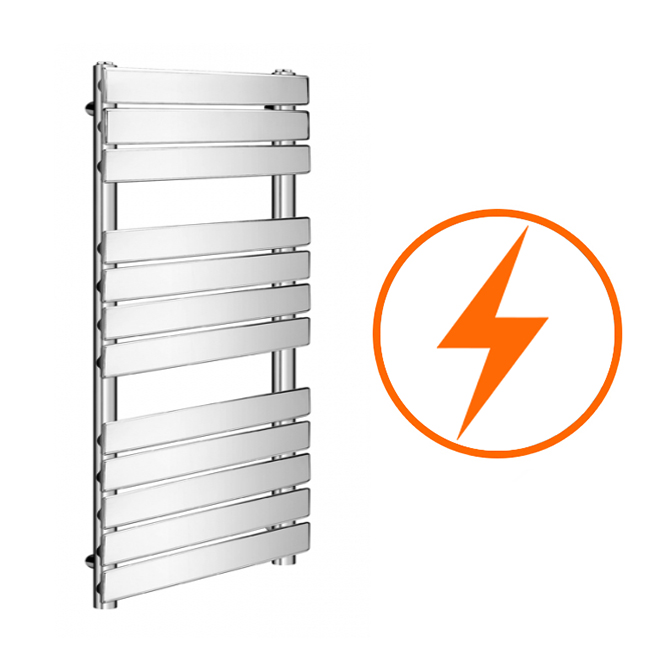
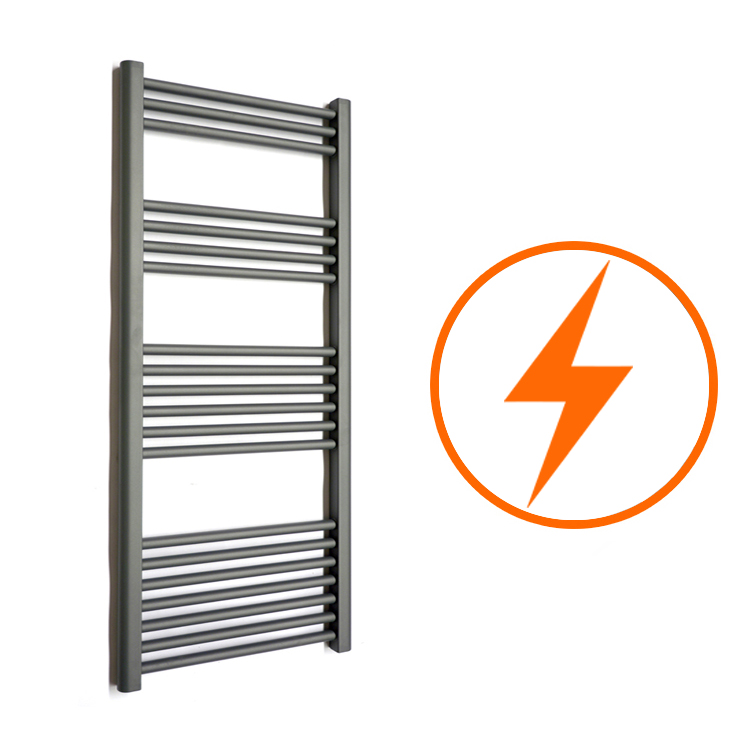
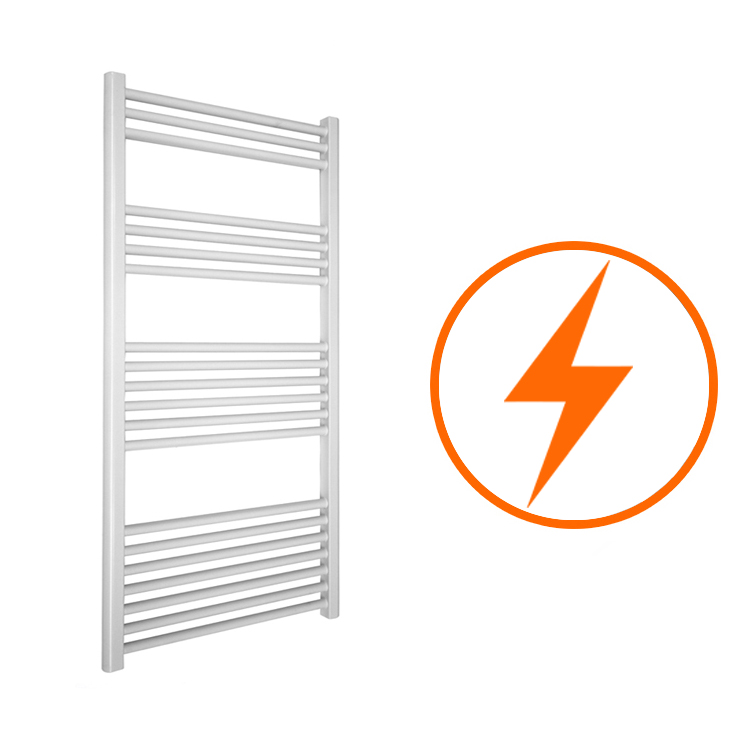
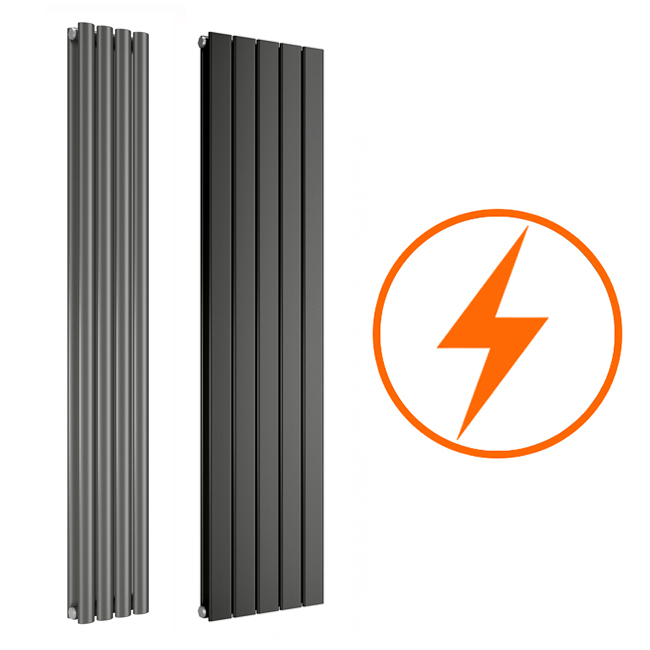
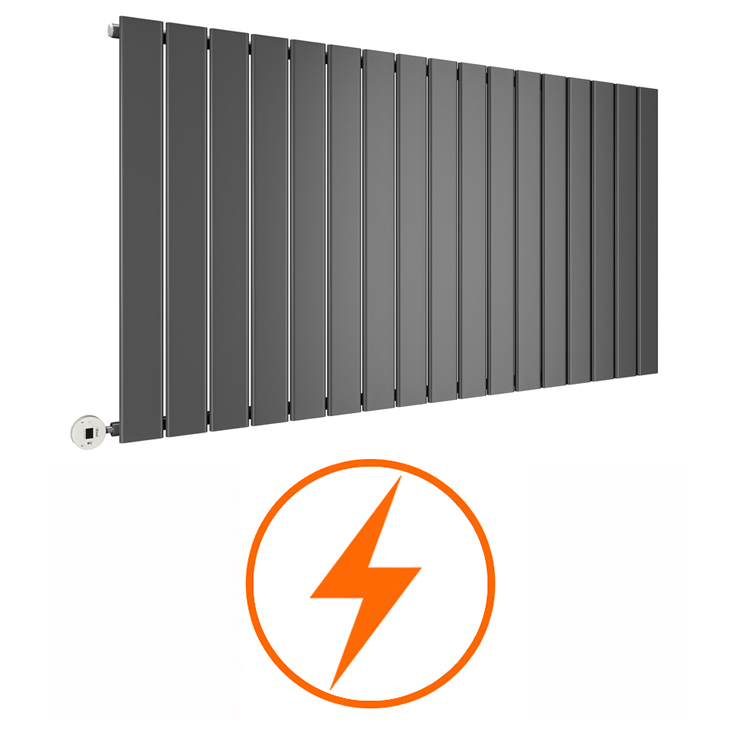
If plumbing work is going to be disruptive, electric radiators can be a genuine alternative rather than a compromise. They’re particularly useful for garden rooms, loft spaces where pipe routes are awkward and rooms you only heat occasionally.
Choosing the right radiator for the room
Most installation problems happen because the planning was rushed. The best place to start is working out two things: where the radiator will go and how you’ll connect it to the existing pipework.
In many UK homes, the easiest method is to tee into the nearest flow and return pipes that serve an existing radiator on the same floor. That’s often a living room, hallway or bedroom radiator close to the new location. Sometimes you can run short pipe extensions through a stud wall, floor void or along the back of kitchen units. In other properties, especially with solid floors or a finished loft conversion, access can be the biggest challenge and the pipe route dictates everything. You also need to think about how the radiator will be controlled. Thermostatic radiator valves (TRVs) are standard practice for room-by-room comfort and efficiency and regulatory guidance has increasingly pushed heating controls like TRVs as the norm “where technically feasible” for wet radiator systems, particularly around new or replacement heating system work.
Adding a radiator to a wet central heating system: step-by-step
What follows is the typical process for adding a radiator to an existing system. The exact details vary depending on whether you have a combi boiler, system boiler or regular (heat- only) boiler with tanks, but the practical sequence stays similar.
1. Make the system safe to work on
Start by turning your heating off and letting everything go fully cold. This isn’t just comfort – hot water in pipework can cause burns and warm systems can behave unpredictably when you start draining and refilling. Once the system is cold, isolate power to the boiler at the fused spur if you can. If your boiler has a “frost protect” or pump-overrun function, cutting power avoids the boiler trying to run while the system pressure is low.
2. Decide your connection point and confirm you can access both pipes
A radiator needs a flow and a return. In many properties, those pipes run under the floor and pop up at each radiator position. You’re looking for a practical place to cut in two tees, one on the flow and one on the return, then run two new pipes to your new radiator position.
If your home has microbore pipework (often 8mm or 10mm) rather than 15mm, the job can still be done, but it’s more sensitive to flow restriction and balancing issues. If you suspect single-pipe circuits (less common now, but still seen), adding an extra radiator is a more specialist job and is usually best handled by a heating engineer.
3. Drain enough water to make working easier
You don’t always need to drain the entire system, but you do need the water level below the point where you’re cutting into pipes. Many people drain down from a radiator valve at a low point or use a drain-off point if one exists. The aim is simple: no water in the section you’re about to open up!
If you have a combi boiler, watch the pressure gauge as you drain. When it drops to zero, you’ll still have water sitting in low sections, so don’t assume “zero pressure” means “no water”.
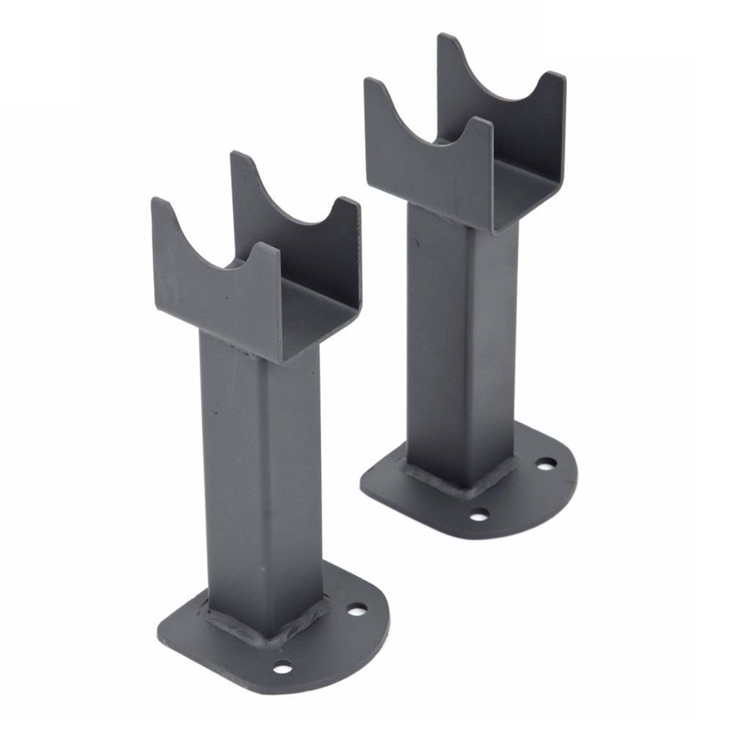
4. Fit the radiator brackets accurately
Before you fix anything, offer the radiator up to the wall (or measure precisely using the manufacturer’s template if supplied) and mark bracket positions. Take your time here. If the radiator is even slightly off-level, you’ll notice it every day and it can also affect bleeding if air pockets collect.
Make sure the wall can take the weight, as some radiators can be heavy. If you’re fixing to plasterboard, you may need to locate studs or use appropriate fixings rated for the load.
5. Run the new pipework from the tees to the new radiator position
This is the part that varies most by property. You’ll cut into the existing flow and return pipes and install tees, then run new pipework to your new radiator tails. How you join pipework depends on your skill level and what’s already installed. Compression fittings are common and accessible; soldered joints are durable; push-fit can be useful where access is tight. The key is choosing the right fitting for the pipe type and ensuring everything is properly prepared and supported.
As you run the pipes, keep the route sensible and protected. Avoid sharp bends that kink pipework, allow for expansion and don’t leave pipes rubbing against timber where vibration can create ticking noises later.
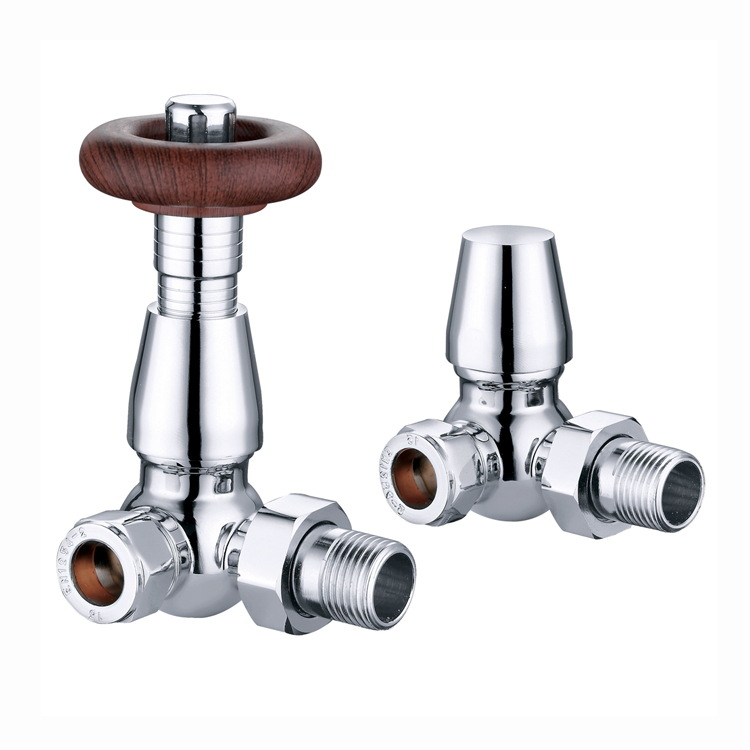
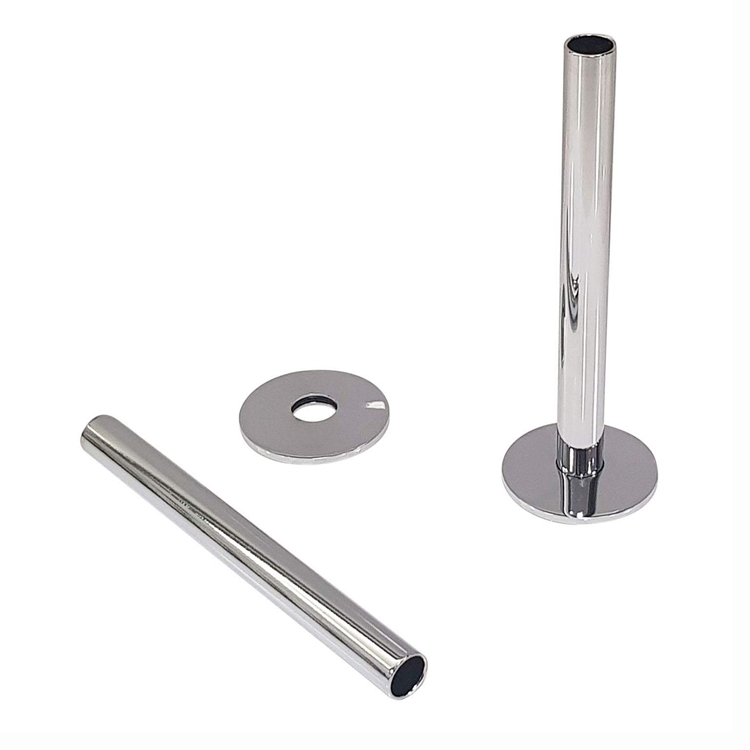
6. Fit valves and connect the radiator
Most setups use a TRV on the flow side and a lockshield valve on the return. The lockshield is crucial because it’s what you’ll adjust during balancing later. When you fit the valves, use appropriate sealing methods for the valve tail into the radiator and don’t over-tighten compression joints. Many slow leaks are caused by rushing this stage and trying to “muscle” fittings into sealing.
Once the radiator is hung and connected, double-check that the bleed point is accessible and that the radiator isn’t fouling skirting boards, pipe sleeves or vanity units.
7. Refill the system slowly and bleed properly
Refilling too fast is a classic cause of airlocks and noisy circulation. Bring the system pressure up gradually and bleed the new radiator early, then go around the house bleeding others as needed. Expect the pressure to drop as air is released and top up again until you’re back at your normal cold pressure.
If your new radiator is upstairs and the system struggles to push heat into it, trapped air is usually the culprit. Bleeding again once the pump has run can help because air moves around as water circulates.
8. Add an inhibitor if the system needs it, especially after draining
If you’ve drained and refilled a meaningful amount of system water, it’s worth thinking about inhibitor levels. An inhibitor helps protect against corrosion and sludge, which is one of the biggest causes of cold spots and poor radiator performance over time.
People often skip this step because it doesn’t feel urgent, then wonder why performance drops months later. If you’re unsure what’s already in the system, a heating engineer can advise, but the general principle is that fresh water introduces oxygen and oxygen accelerates corrosion.
9. Balance the system so the new radiator doesn’t steal heat from the rest of the house
This is the step that turns ‘it sort of works’ into ‘everything heats evenly’. After adding a radiator, balancing matters because water will always take the easiest path. Without balancing, radiators nearest the boiler can hog flow and the new radiator might be lukewarm or vice versa depending on where it’s connected. Balancing is also increasingly emphasised as part of proper commissioning and efficient operation of wet heating systems.
In practical terms, you’re adjusting lockshield valves so each radiator gets an appropriate share of flow. You’ll usually start with the radiator closest to the boiler and work outward, making small adjustments and giving the system time to respond. If you’ve never done this before, it is fiddly but it’s one of the most effective “free” performance fixes you can make after a system change.
Common pain points after adding a radiator (and what actually fixes them)
The new radiator stays cold while the others heat up
This is most often air trapped in the new radiator or pipe run, especially if the pipe route rises and dips. Bleed the radiator again when the system is running and check the system pressure afterwards because bleeding drops pressure. If the radiator is fed from microbore pipework, it may also be more sensitive to flow restriction and need careful balancing.
The boiler pressure keeps dropping
If pressure falls repeatedly after installation, treat it as a leak until proven otherwise. Check every new joint with tissue and look for tiny beads of water. Slow leaks often appear only when the system is hot and expanding. If you can’t find anything obvious, call a professional, as ongoing pressure loss can damage components.
There’s banging or whooshing in the pipes
Noises often come from trapped air, high pump speed or poorly supported pipework. Bleed again, then check that pipes are clipped and not touching timber tightly. If the system has been drained, fresh air can take a while to fully clear.
The radiator heats at the top but not the bottom
That’s a classic sign of sludge build-up rather than an installation mistake. If multiple radiators show this, it may be time to flush the system and ensure inhibitor protection is in place.
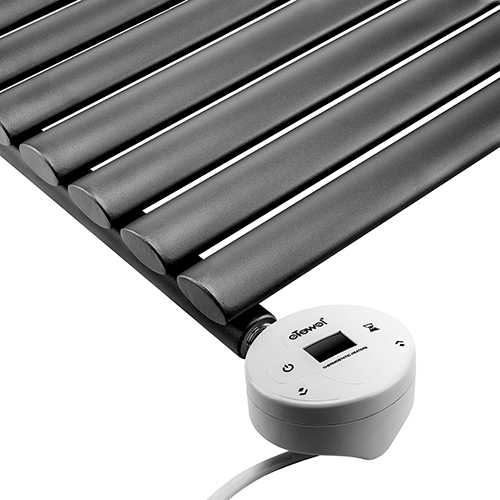
When electric radiators are the better option
If you’re adding heat to a room where running pipes means lifting floors, boxing in pipework or disrupting finished spaces, electric radiators can be the most straightforward solution. They’re also ideal for rooms that don’t need heating all day, because you can control them independently without firing the whole central heating system.
The key point is that electric radiators still need proper electrical installation. Plug-in models can work in some spaces, but for bathrooms you’ll usually be looking at professionally installed options suitable for the environment. If you’re adding heat to a bathroom, always choose a product designed for that setting and follow electrical safety guidance.
Electric doesn’t have to mean “basic” either. Many modern electric radiators are designed to look like premium wall radiators, which is useful if you want a consistent style across your home.
DIY vs professional installation
LIf you’re comfortable with plumbing, have good access to pipework and you’re adding a radiator close to existing pipes, this can be a capable DIY job. If you’re dealing with awkward routing, solid floors, microbore complexity, unknown system condition or you simply want it done quicker with minimal risk, a heating engineer will save you time and stress.
If anything about the job touches gas components, boiler internals or requires changes to system design and controls, it’s best handled by qualified professionals. Modern regulations and best practice around heating controls and commissioning are there for a reason: efficiency, safety, and long-term reliability.
Adding a radiator to an existing system should give you comfort where you’ve been missing it, rather than introducing pressure problems, cold spots or endless tinkering. The difference comes down to sizing the radiator correctly, connecting into the system sensibly, refilling and bleeding patiently and balancing so every radiator plays nicely together.
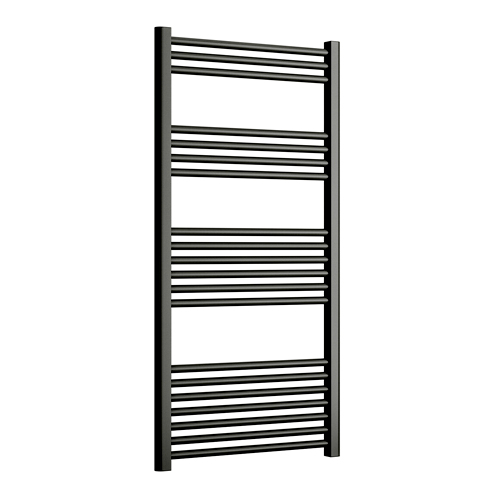
If you’re ready to upgrade your heating, Radiator Outlet has a large range of designer radiators, traditional radiators, bathroom radiators, wall radiators and electric radiators in styles to suit every room.