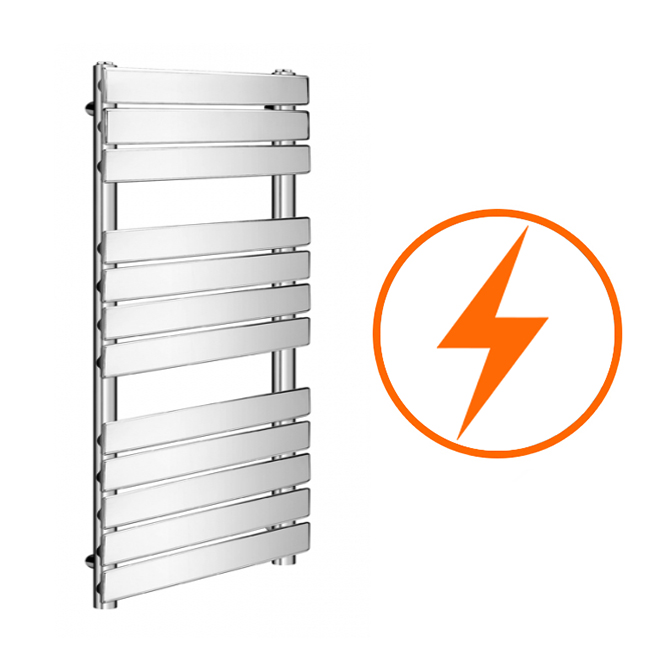
Need Radiators FAST?
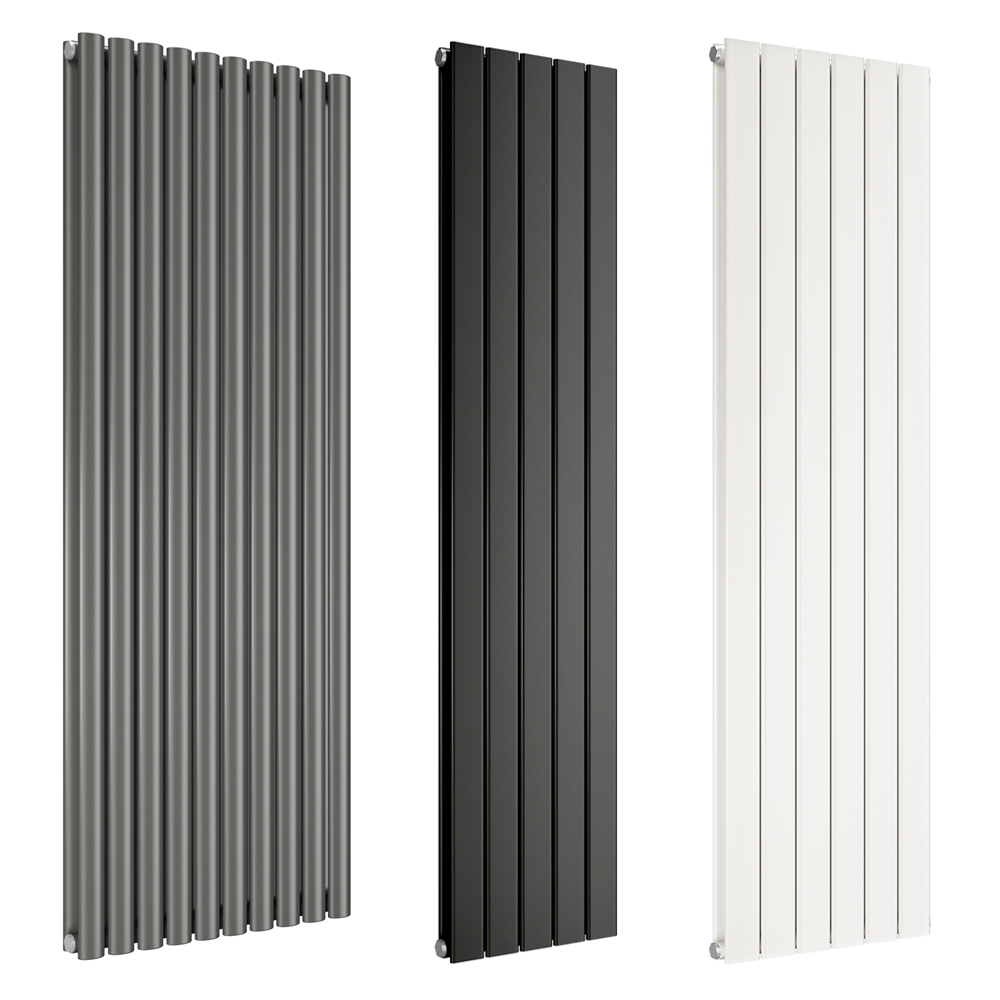
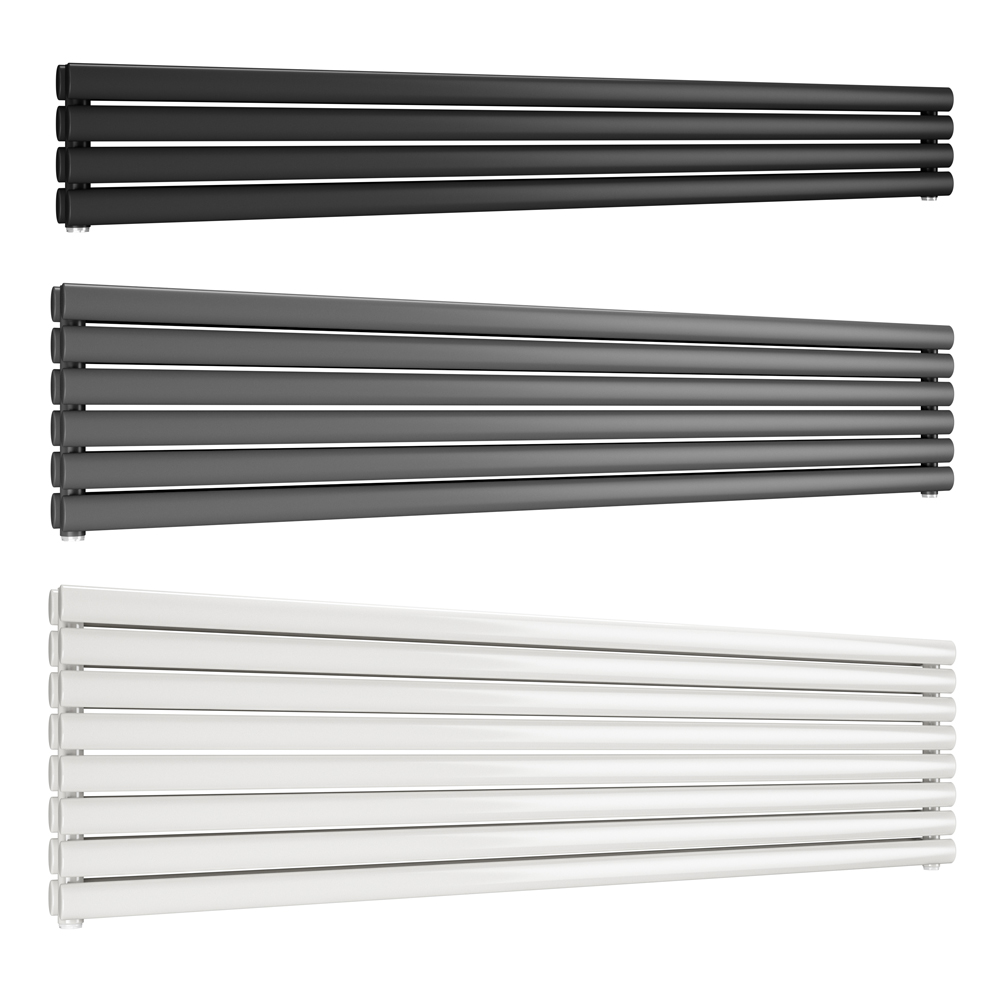

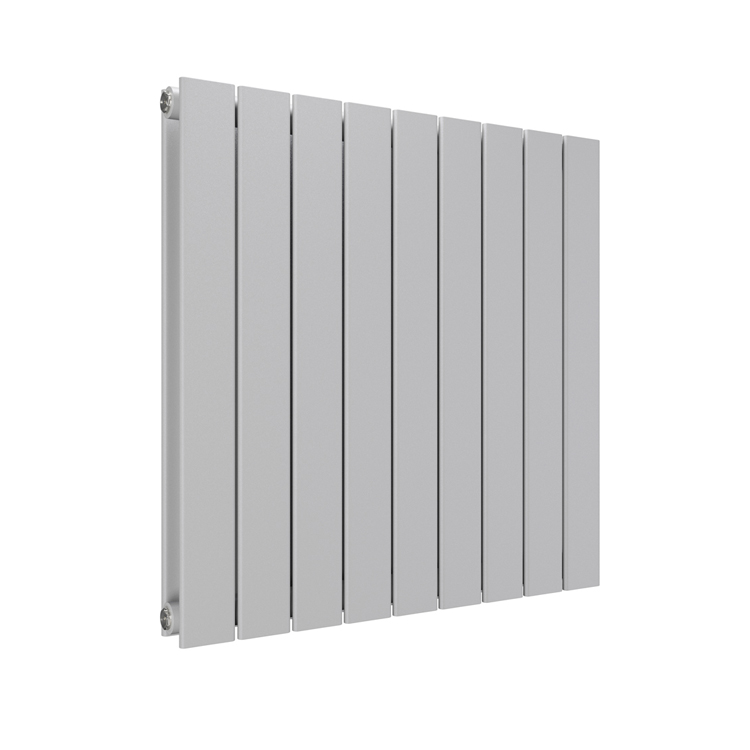
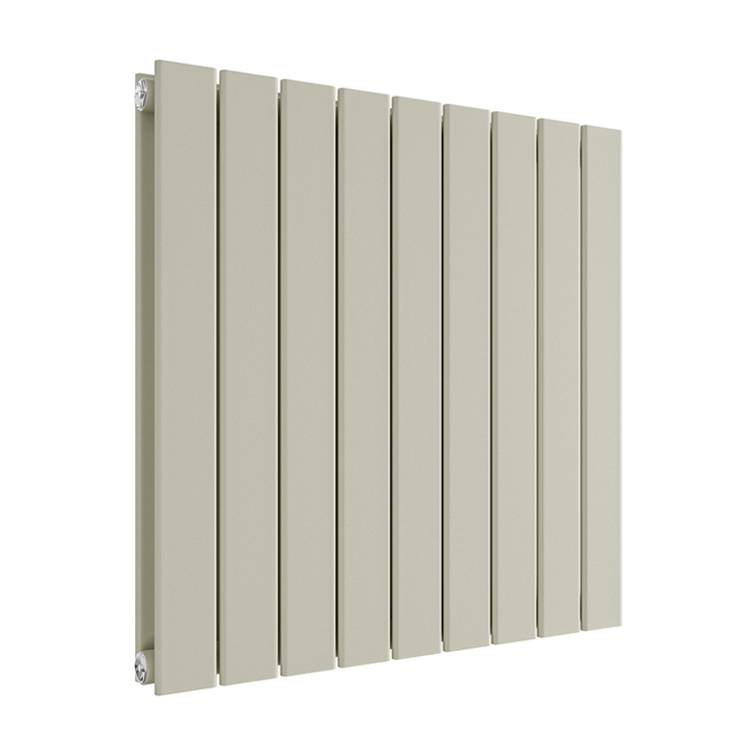

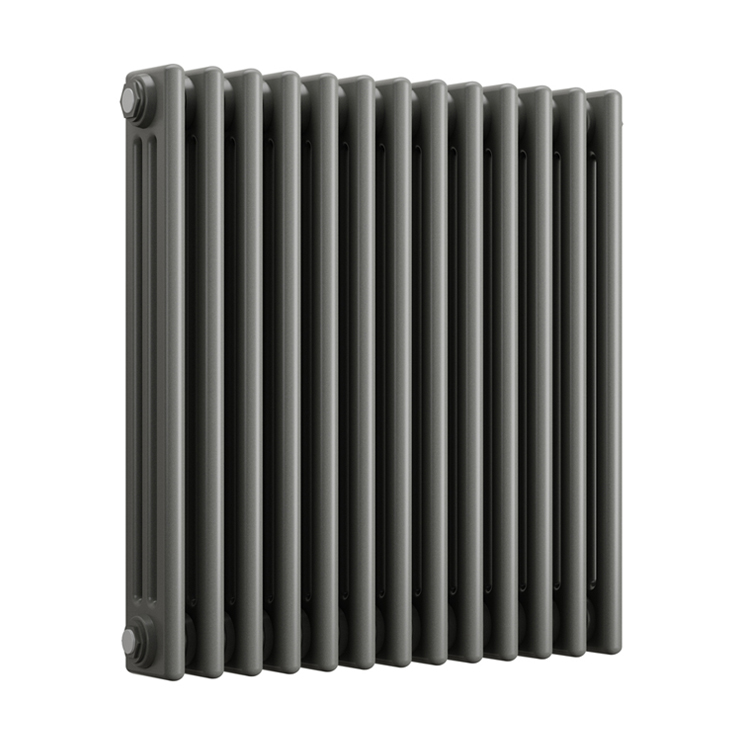
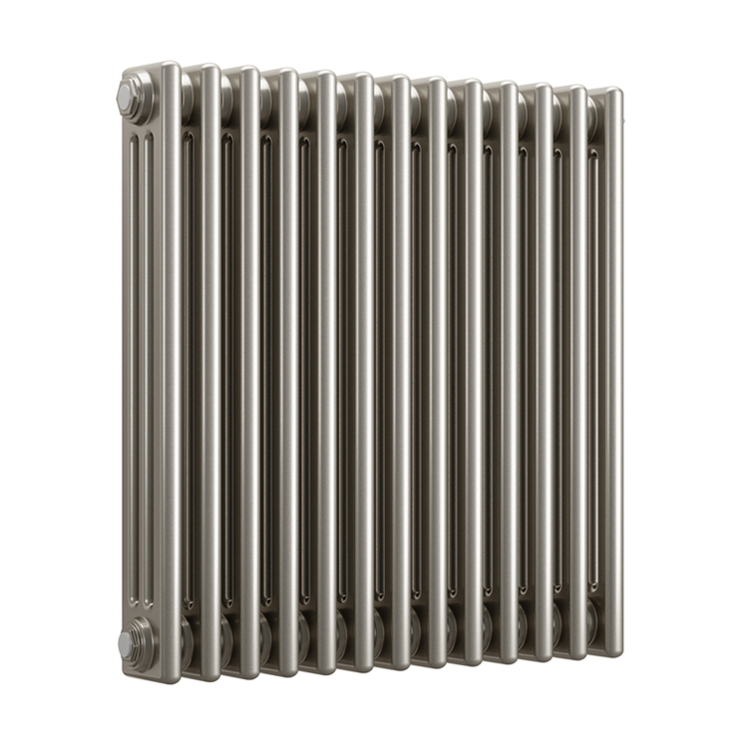
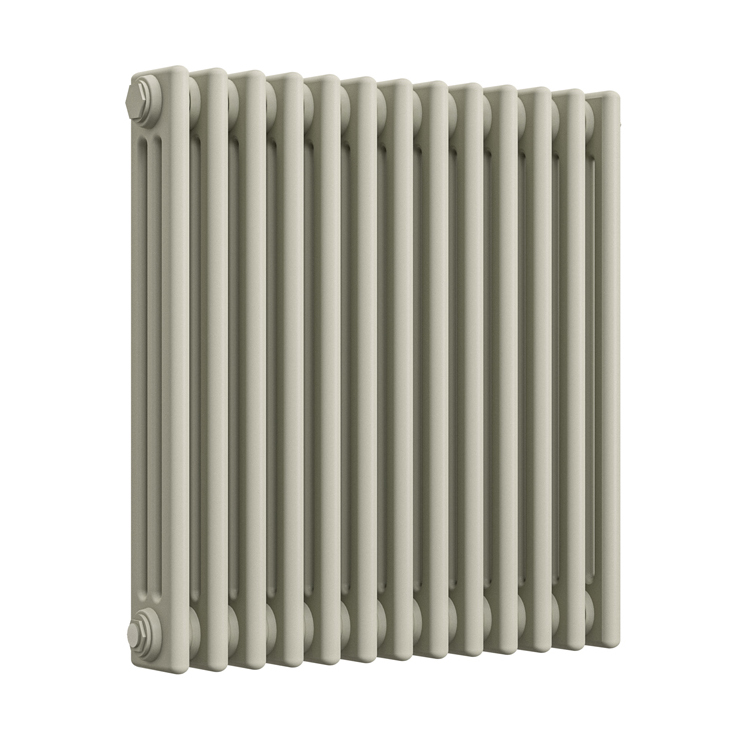
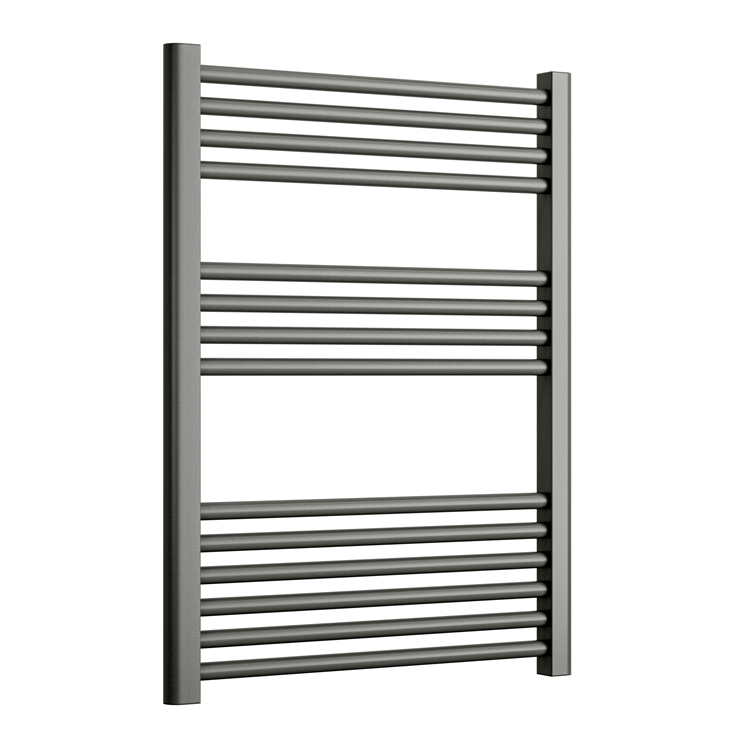
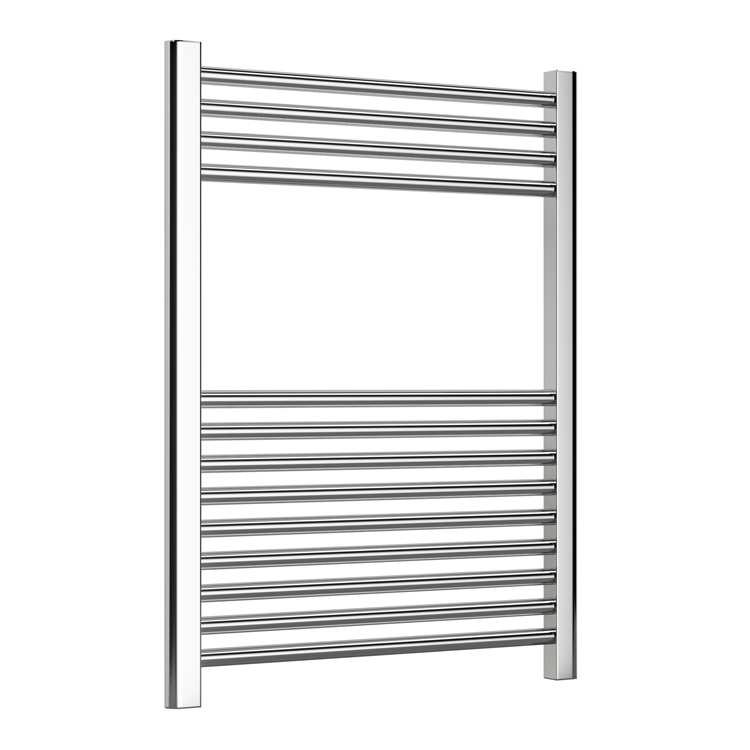


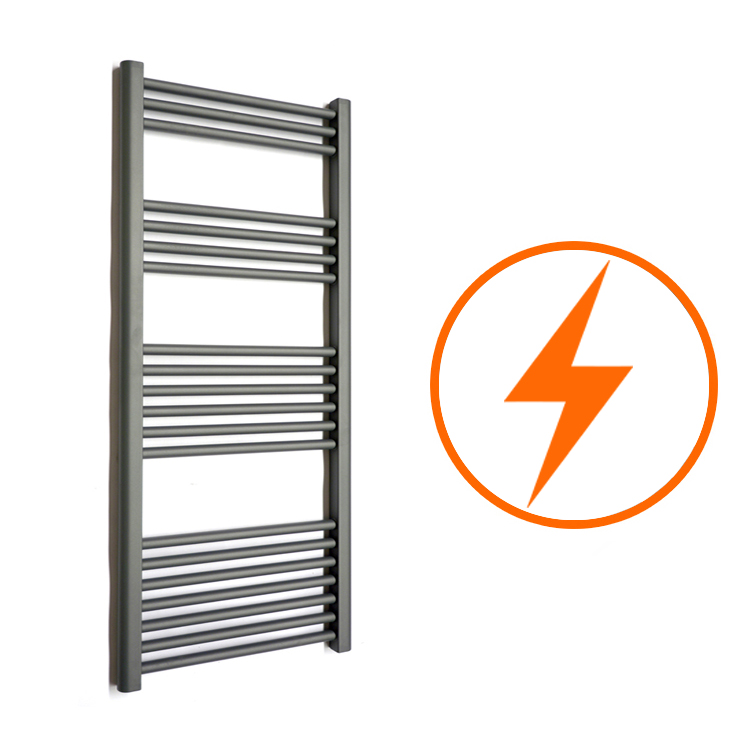
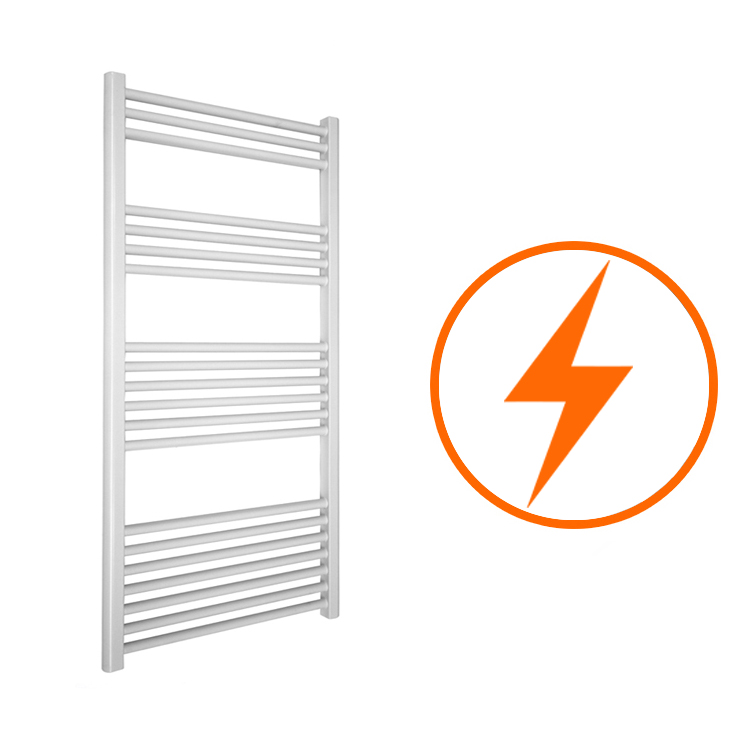

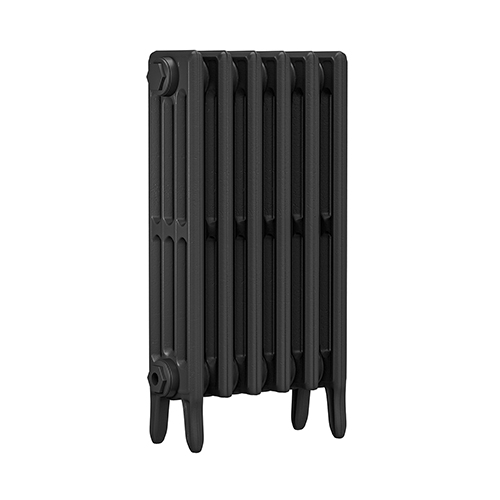


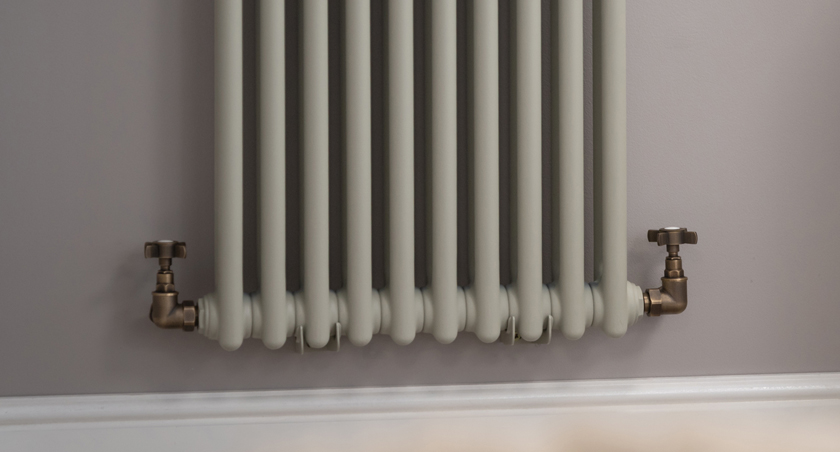
Wall-mounted radiators have become a firm favourite in modern British homes. They save valuable floor space, look neat and contemporary and can be positioned exactly where you need heat the most. If you’re updating a tired central heating system, renovating a room or planning a full home makeover, wall radiators give you the flexibility to combine style and practicality.
Where’s the right spot for your wall radiator?
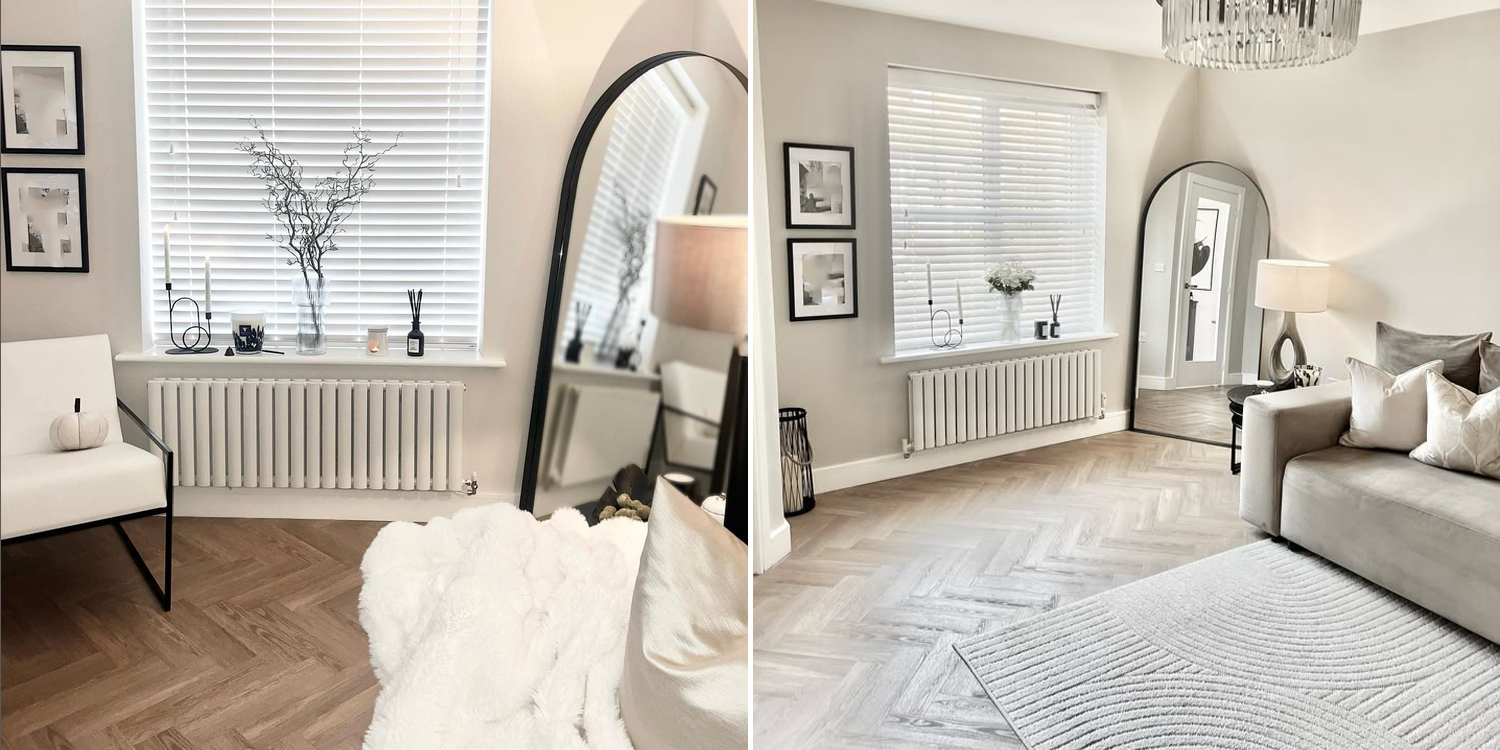
Before you pick up a drill, it is worth spending time thinking about the best location for your new radiator. Traditionally, radiators are placed under windows to help counteract draughts, but with modern double glazing, you have more freedom to position them where they make most sense for your layout.
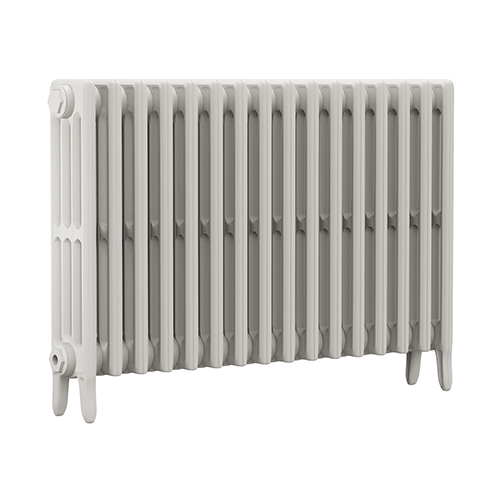
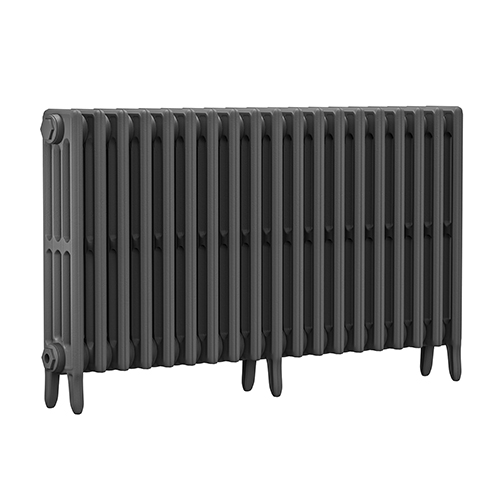
It is also important to think about the wall construction itself. A solid brick or block wall is ideal for heavy steel or cast-iron wall radiators, while a plasterboard wall may need extra reinforcement or specialist fixings. Very lightweight stud walls can still be used, but you will need to take more care with load-bearing and bracket positioning.
Planning the installation and gathering tools
Once you know where the radiator is going, you can plan the installation in more detail. Measure the space carefully and check that the radiator you have chosen will fit comfortably, with a little room either side and above for valves and airflow. If you are upgrading to a larger or heavier model, check that the new weight is appropriate for your wall type and fixings.
Radiator Outlet wall radiators are supplied with compatible wall brackets and fixings suitable for typical installations, but you may wish to upgrade fixings if you have an unusual wall substrate. To install a wall-mounted radiator, you will normally need:
-
A drill and masonry bit for solid walls or suitable bits for plasterboard
-
wall plugs or cavity fixings
-
a spirit level
-
tape measure
-
Pencil
-
adjustable spanners
-
PTFE tape
-
a radiator bleed key
-
a dust sheet or two
At this stage, it is also sensible to think about the heating installation as a whole. If you are adding a radiator to an existing system, you will need to tie into the flow and return pipework. If you are relocating a radiator, you may need to extend pipes under the floorboards or along the wall. Any major changes to pipework are often best handled by a qualified heating engineer, even if you are happy to hang the radiator and brackets yourself.
Turning off and draining the system
Before you touch any part of the pipework, ensure your boiler and central heating system are fully turned off and have cooled down. If you are simply swapping a radiator like-for-like and have isolation valves fitted, you may be able to avoid draining the entire system. However, many installations do require at least a partial drain-down to avoid spills and leaks.
Most homes with traditional systems have a drain valve at the lowest point of the pipework. Attach a hose, run it outside to a suitable drain and open the valve slowly. Open the bleed valves on upstairs radiators to help air enter and water leave the system. Once the system is drained, you can work on the pipes and radiator valves more safely.
Always have a bucket and some old towels to hand for any remaining water in the pipes or radiator when you disconnect it. It is better to prepare for a small spill than be caught out!
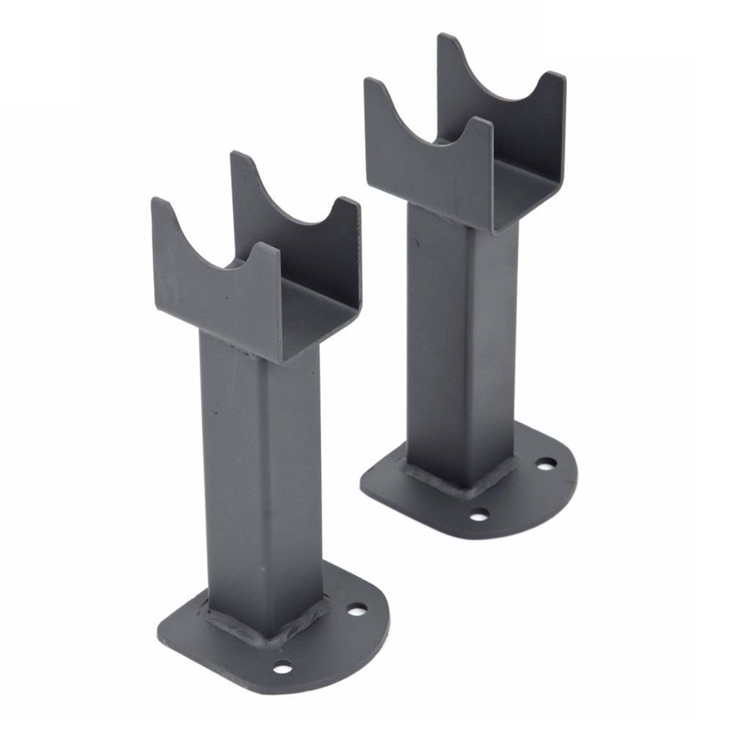
Marking up the wall and fixing the radiator brackets
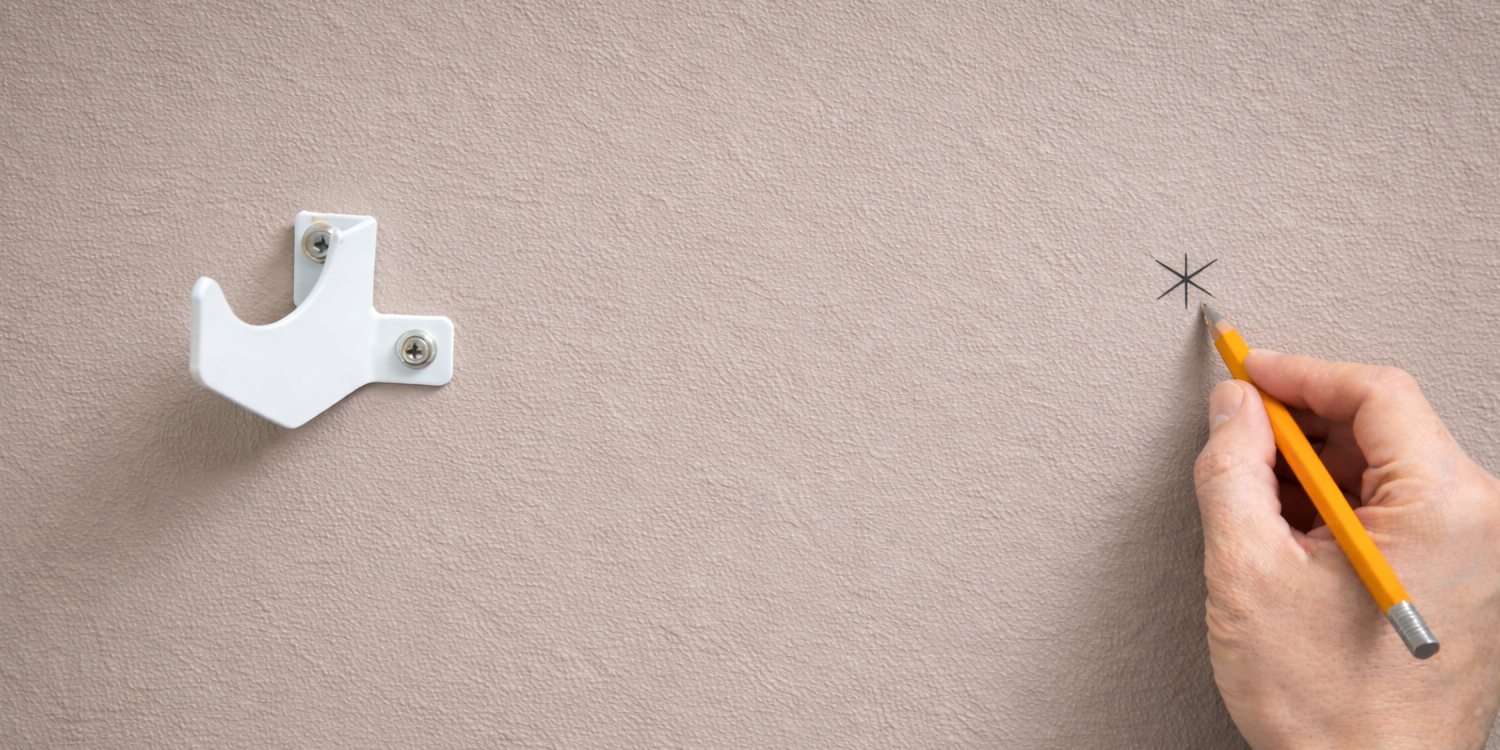
With the old radiator removed and the wall exposed, you can begin the process of positioning and fixing the new radiator brackets. Start by measuring the distance between the bracket slots on the back of your new radiator. Manufacturers usually indicate the recommended mounting height from the floor and clearance from skirting boards or window sills and it is important to follow these guidelines so the radiator sits correctly and performs efficiently.
Hold the radiator against the wall where you want it to sit and lightly mark its outline with a pencil. This helps you visualise the finished position. From there, you can measure and mark where each radiator bracket should be fixed, using a tape measure and spirit level to keep everything square and straight. Take your time here; even a slight misalignment can make it tricky to hang the radiator securely.
For a solid brick or block wall, drill holes at your marked points using the appropriate masonry bit, then insert sturdy wall plugs. For a plasterboard wall, things are a little more delicate. You should avoid relying solely on the plasterboard skin for support, especially for larger radiators. Where possible, align at least some of the fixings into studs behind the plasterboard. If this is not an option, use high-quality cavity fixings specifically rated for the weight of your radiator and consider adding additional fixings or a backing board fixed across several studs to spread the load.
Once the fixings are in place, screw the radiator brackets firmly to the wall, checking again with a spirit level as you tighten them. They should feel solid with no wobble or movement when you apply pressure.
Hanging the wall radiator on its brackets
With the brackets secure, you can lift the radiator into place. This is often a two-person job, particularly if you are dealing with a long or heavy model. Carefully hook the radiator onto the brackets, ensuring it sits fully in any retaining clips or slots provided.
Check that the radiator is level across the top and sits at the correct distance from the wall. Many modern designs are intended to sit with a slight tilt towards the outlet end to help air escape when bleeding, but you should follow the specific advice given by the manufacturer.
If adjustments are needed, you can take the radiator back down and fine-tune the bracket positions before trying again.
Once you are happy, secure any locking clips or safety catches that stop the radiator being accidentally lifted off the brackets. This is especially important in family homes where children may pull on the radiator or lean against it.
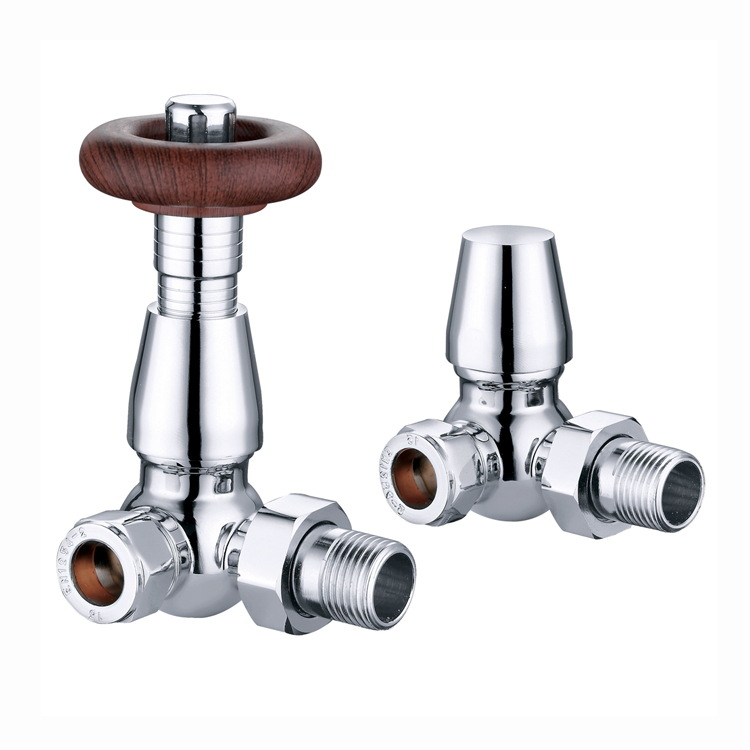
Connecting the radiator valves and pipework
With the radiator hanging in its final position, you can turn your attention to the plumbing connections. In most modern installations, you will be using a pair of radiator valves at the bottom of the radiator: one for the flow and one for the return. These may be traditional wheel-head and lockshield valves or thermostatic radiator valves (TRVs) that allow you to control the room temperature more precisely.
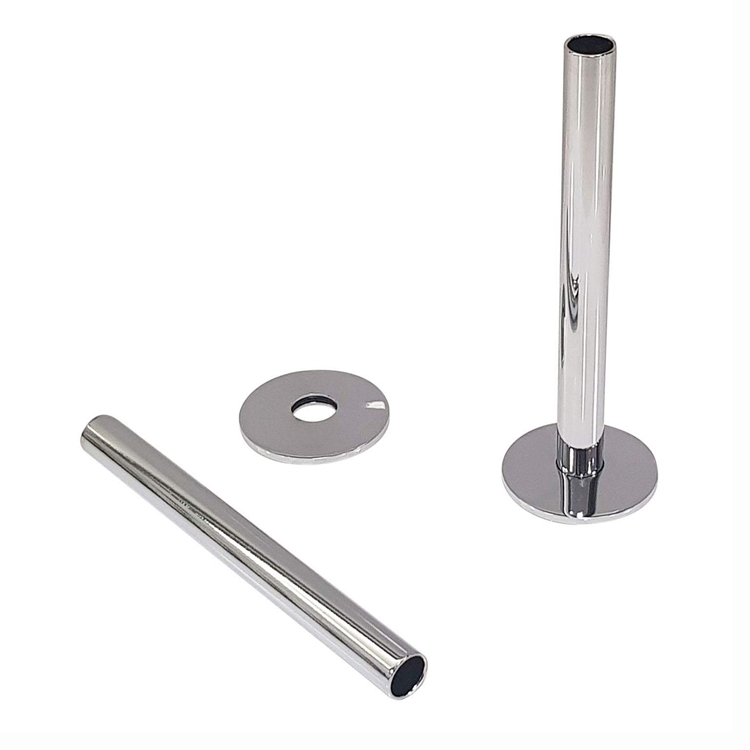
Wrap PTFE tape around the threaded parts of the valve tails as directed and screw them into the radiator inlets, taking care not to overtighten and damage the threads. Offer up the valves to the existing pipework and check the alignment. You may need to make minor adjustments to the pipe length or position to achieve a neat, stress-free connection. Any significant changes to copper or plastic pipe runs, particularly in confined spaces or under floors, are best completed by a professional if you are unsure.
Once the pipes and radiator valves are correctly aligned, tighten the compression nuts or fittings with an adjustable spanner, while supporting the opposing side with another spanner to avoid twisting the valve or radiator. Take your time with each connection and check that everything feels secure.
Refilling, bleeding and testing the system
When all connections are in place, you can begin refilling the central heating system. Close any drain valves you previously opened and ensure that all bleed valves on radiators are closed. If you have a sealed system, gradually refill it using the filling loop and watch the pressure gauge on your boiler. For open-vented systems with a feed and expansion tank, ensure the water supply is on and allow the system to refill naturally.
As water enters the system, you can begin bleeding the radiators one by one. Use a radiator key to open the bleed valve at the top of each radiator until water, rather than air, emerges. Start with the lowest radiators and work your way up, checking the boiler pressure periodically and topping up if needed.
Once the system is full and bled, switch the heating on and allow the new radiator to warm up. Take a careful look around each connection for any signs of seepage or dripping. If you spot a small leak, turn the heating off, allow the radiator to cool and gently tighten the affected joint. Never ignore even a minor leak, as it can worsen over time and damage flooring or walls.
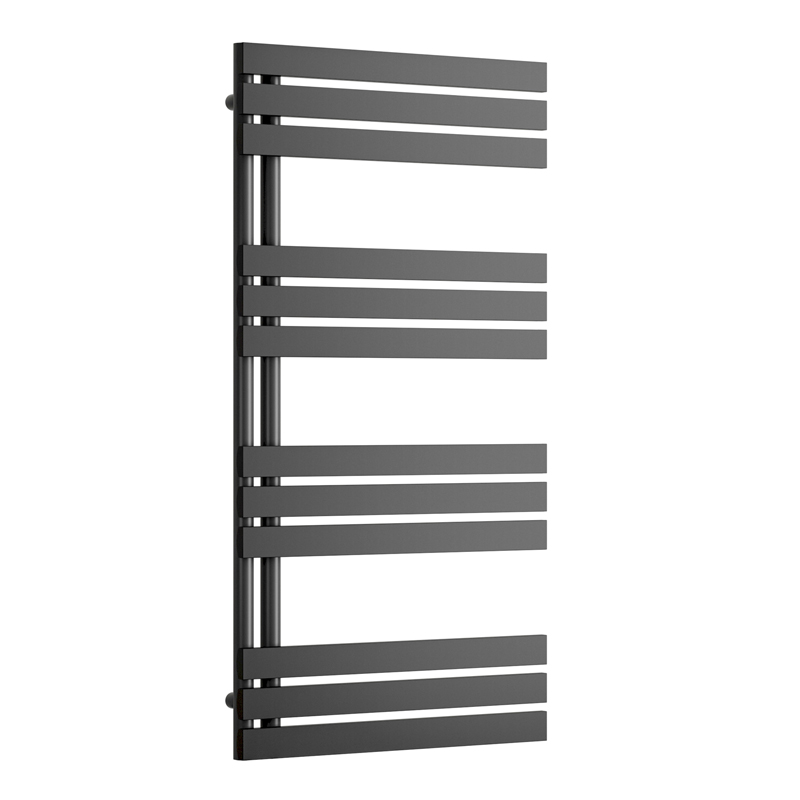
Special considerations for plasterboard walls and heavy radiators
Many modern homes have internal walls built from plasterboard, which can cause understandable concern when hanging a heavy radiator. The key is to respect the limitations of the material and use the correct fixings. It is often worthwhile to use a stud finder to locate vertical timbers behind the board and position at least part of the radiator bracket over these stronger sections.
If this is not possible, consider using a wide mounting board or batten fixed securely across multiple studs, then attach the radiator brackets to this board. This spreads the load and reduces the risk of the fixings pulling through the plasterboard. Always check the weight rating of any cavity fixings you use and ensure they are suitable for your particular radiator size and construction.
For particularly large designer radiators or models with high water content, it may be more appropriate to choose a solid masonry wall or seek advice from a qualified installer before proceeding.
Finishing touches and balancing your system
Once your wall radiator is installed and heating up nicely, there are a few final steps that can improve comfort and efficiency. If you have fitted new thermostatic radiator valves, set each one according to the role of the room. Living rooms may be kept warmer than bedrooms, for example.
It can also be helpful to balance the system so each radiator heats up at a similar rate. This is done by adjusting the lockshield valves – the usually capped valves on the return side of each radiator – so that water flows evenly around the system rather than rushing through the nearest radiators. While balancing can take a little patience, it often makes a noticeable difference to comfort and energy use.
Finally, tidy up any pipe lagging, refit skirting boards or floor coverings and give the radiator a gentle clean to remove any dust from the installation. Your new wall-mounted radiator should now provide reliable, even warmth and a smart, modern look for years to come.
Choosing quality wall radiators from Radiator Outlet
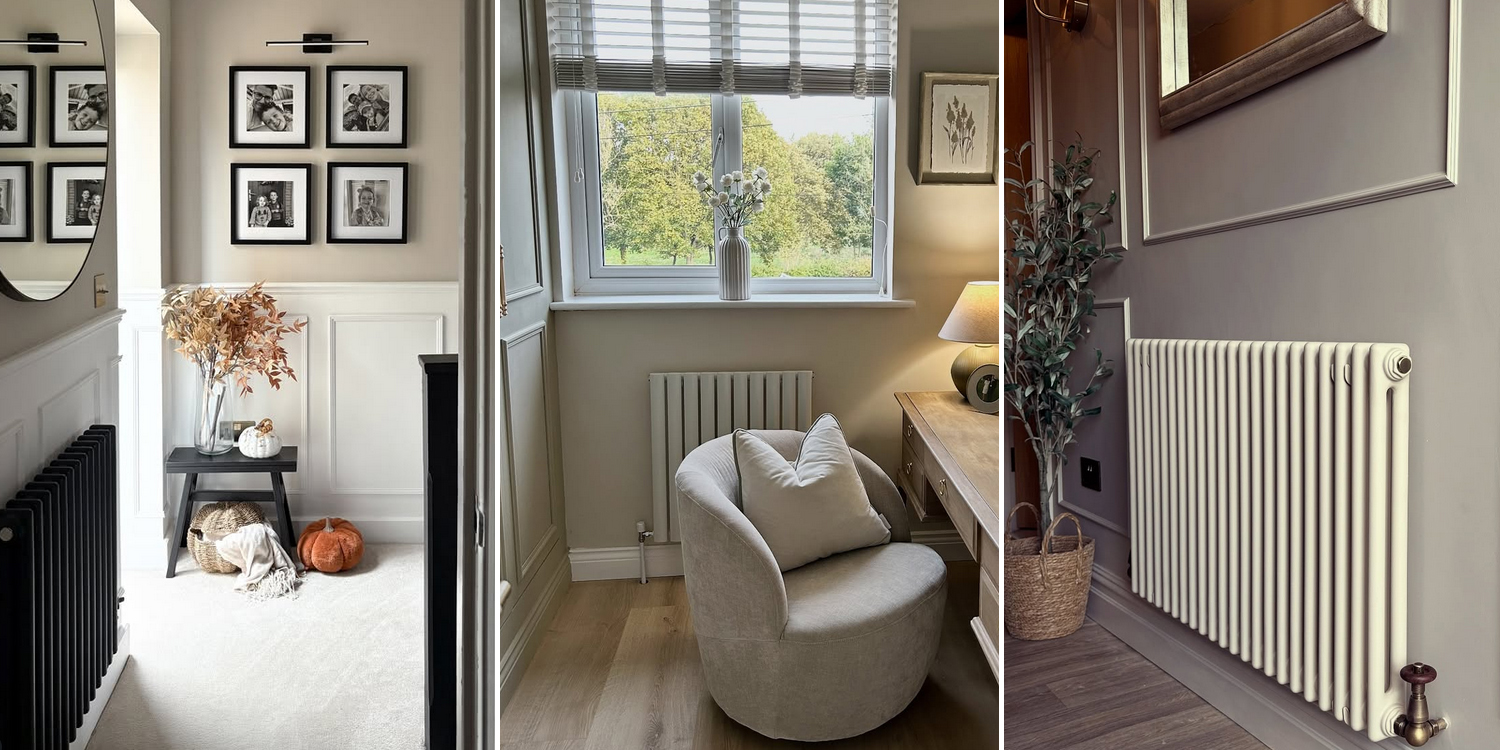
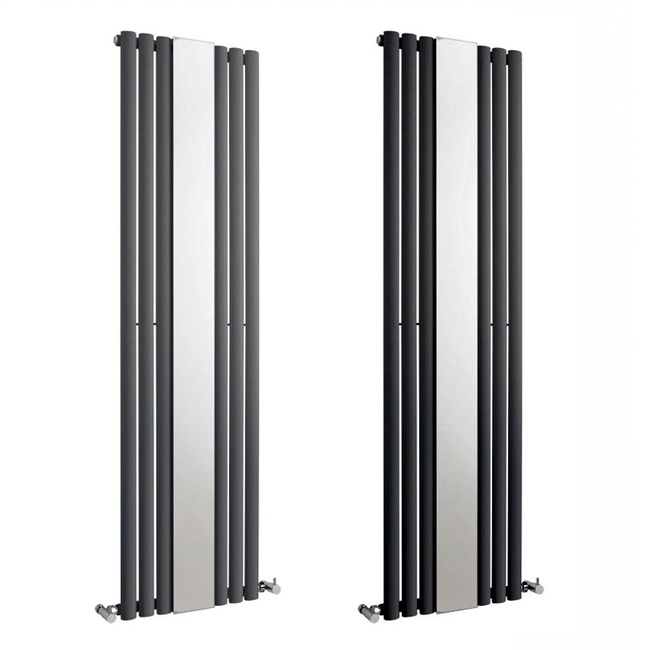
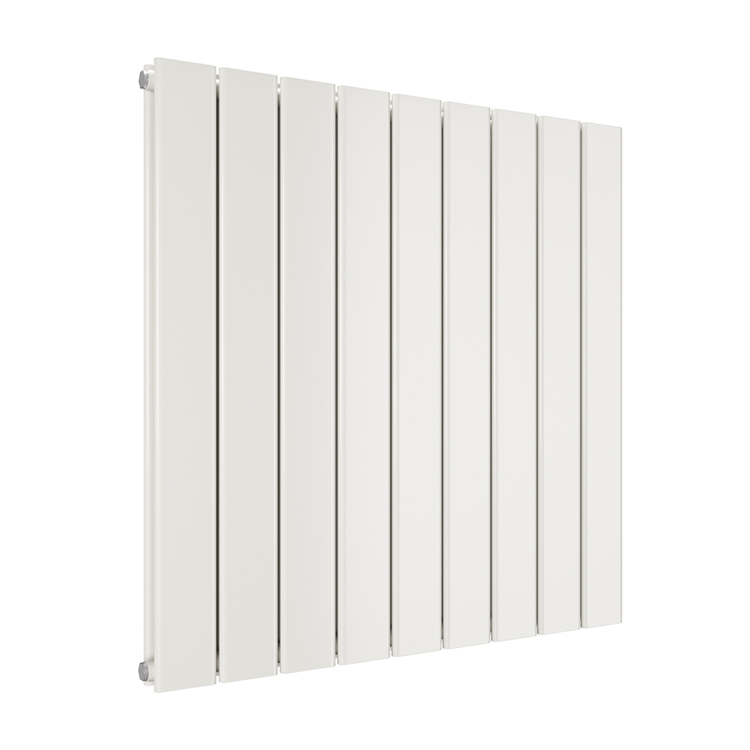
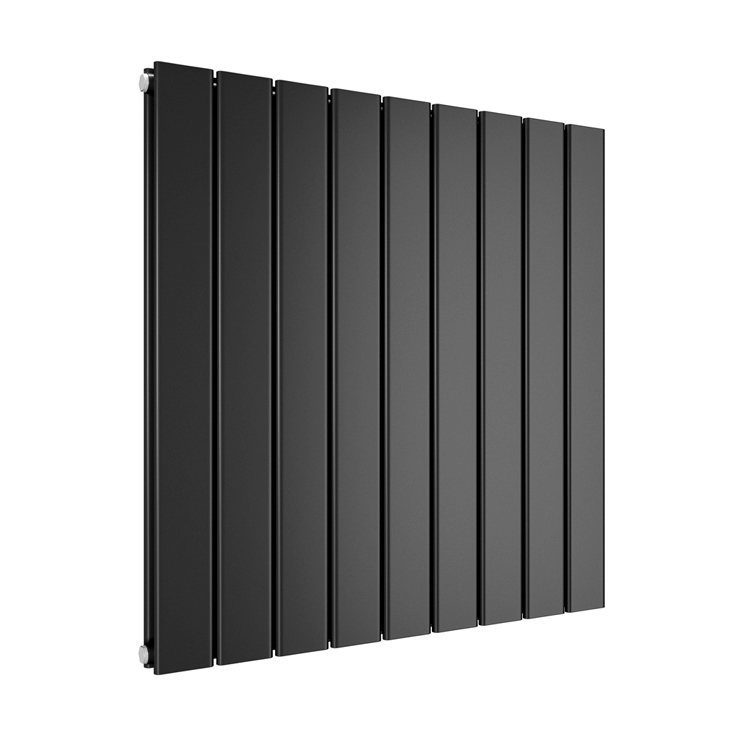
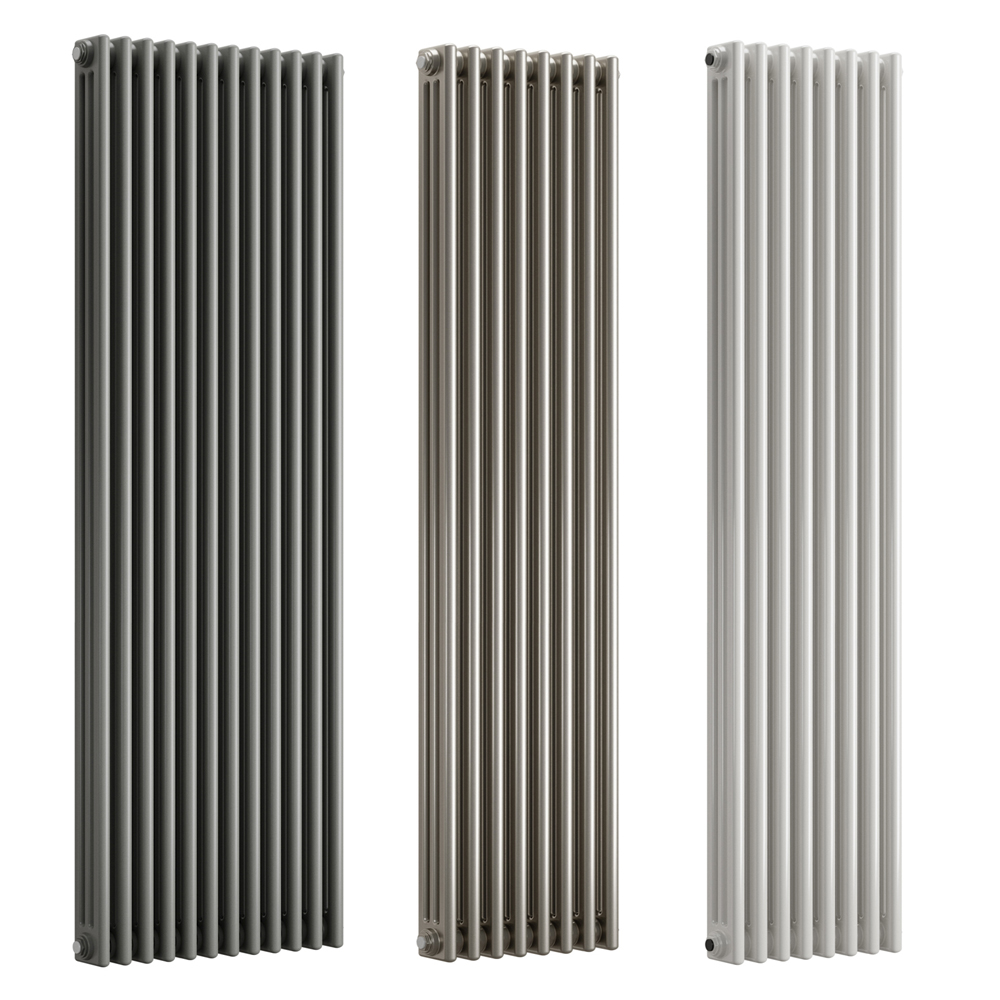
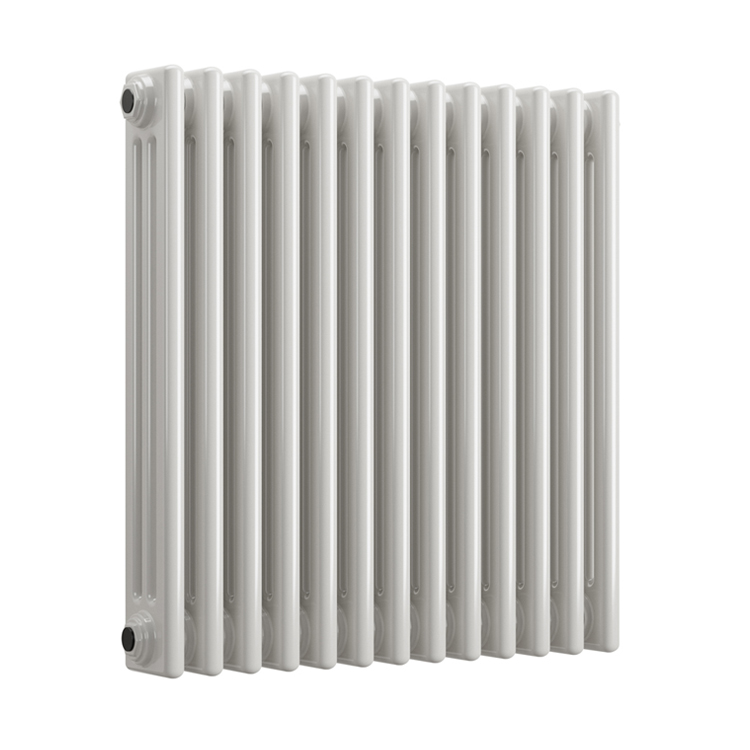
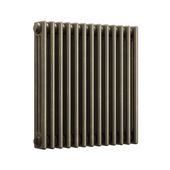
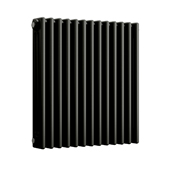
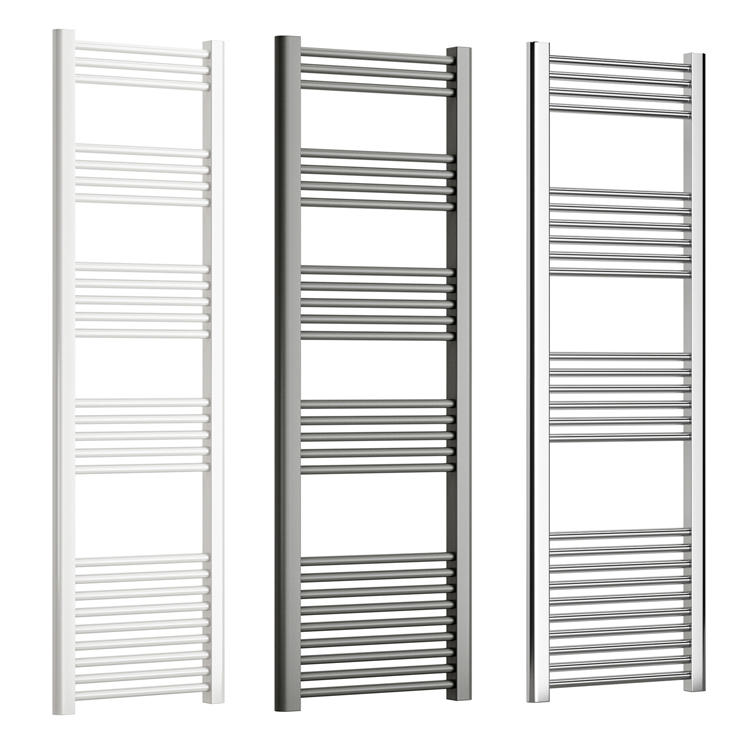
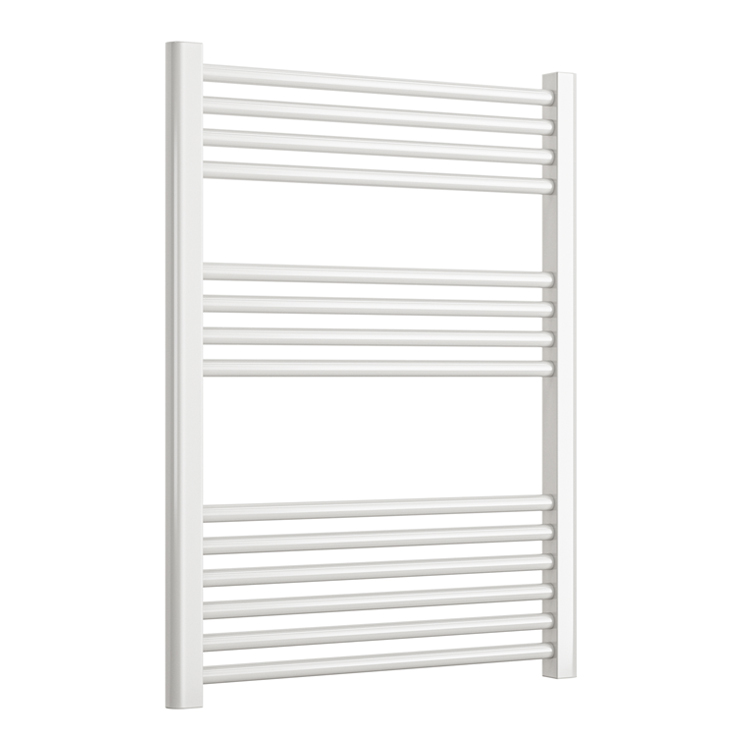
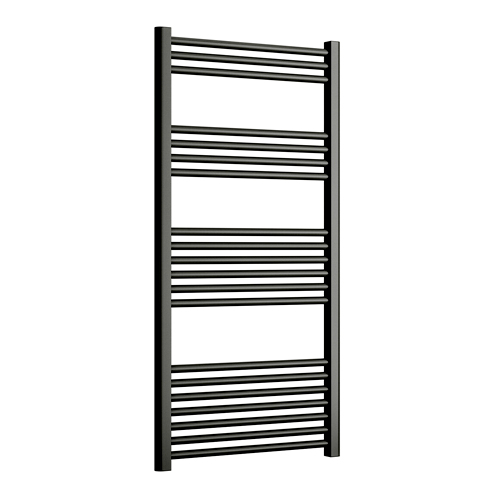
A smooth installation starts with the right product. Well-designed wall radiators are easier to hang, come with robust brackets and clear instructions and are built to cope with everyday use in busy homes. At Radiator Outlet, you can choose from a wide range of sizes, finishes and styles to suit everything from compact cloakrooms to spacious open-plan living areas.
If you are planning your next project, take a look at our full collection of wall radiators to find a model that matches both your heating needs and your interior style. Pairing the right radiator with a careful, methodical installation will reward you with a warm, comfortable home and a clean, uncluttered look across your walls. And if any part of the process feels beyond your comfort zone, you can always combine this guide with the expertise of a professional installer, knowing you have chosen a high-quality radiator that is built to perform.
Shop radiators now.